
First major project in the workshop : a Dutch style carpenters chest.
It’s more than a year now since I packed away all of my tools, stowed what I could under the boatbuilding bench and started to move rocks and dig the workshop floor out. I know I was most of 3 months digging out the floor by hand as it was dense and hard clay that hadn’t been touched for more than 50 years. Since that start iv’e had many different ideas about what would make an inaugural project when the new workshop had floor, roof and a basic fit out of benches.
For a long while I assumed that I would build a second boat, I even bought the plans for a SCAMP design although I quickly realized that i’m done with boats ; iv’e barely even glanced at the plans. At some time I might still build a teardrop style camping trailer but that would get done outside using my old boat building bench cum strongback : if it happens at all it’s more likely to happen after I rebuild the outside shelter roof and my one time boat building bench out there. I intend to keep using the outside working space for large projects such as building a teardrop trailer as there’s space enough out there for a trailer and it’s pod. I’m trying to keep the actual workshop for ‘clean’ work : jobs that don’t generate lots of dust and/or use lots of epoxy resin. I might even set up to learn how to use an arc welder but that’s a thought for future Steve.
I’m far more a semi competent DIY kind of guy and certainly not a craftsman in wood. My intention is to get better with woodwork though and in that I aim to use traditional hand tools as much as I can.
Last year, just before I started the workshop project in earnest I tried to create a small working space for myself out on the outside bench, and at the same time pressed my old seaman artificers chest into action as a dry chest for my better tools. As things worked out I did rather throw myself at the digging out of some 13 yards of heavy clay and large granite stones so I had little time or energy for anything else. I also created a model making/crafting space indoors – that hasn’t had much use either because the week it was done I found that it was time to down tools and concentrate on helping with the construction of the roof & after that starting to fit the place out.
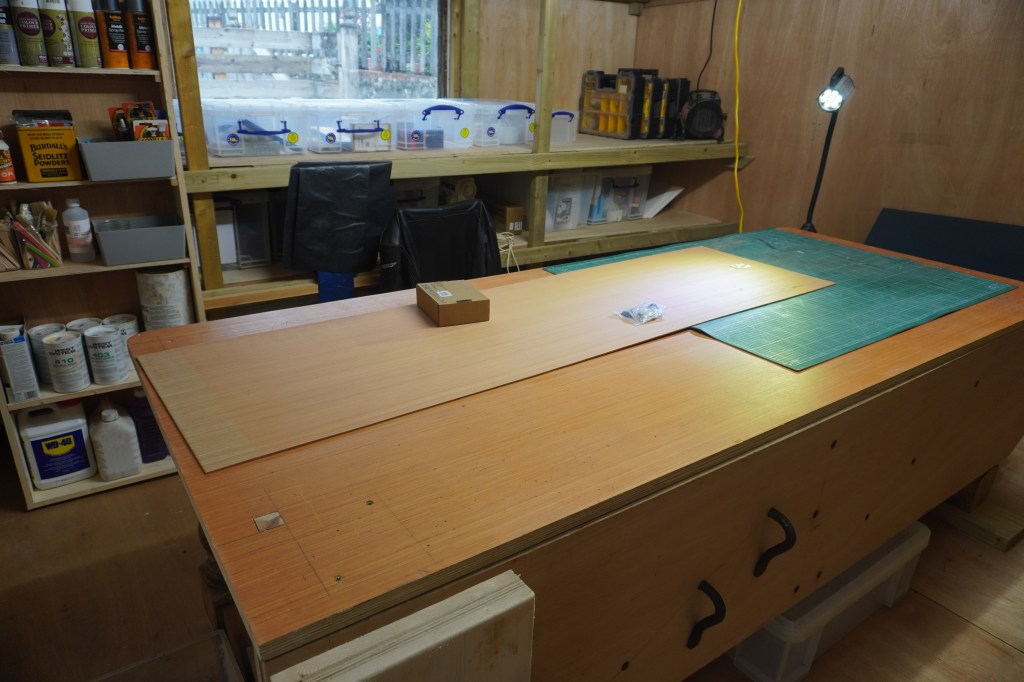
Well here we are : I have an almost finished workshop, it doesn’t have doors yet but it does have a large bench cum table that I can usefully work on, except that I forgot to fasten the worktop down when I first went to use the bench ; remind me to slap myself around a bit !
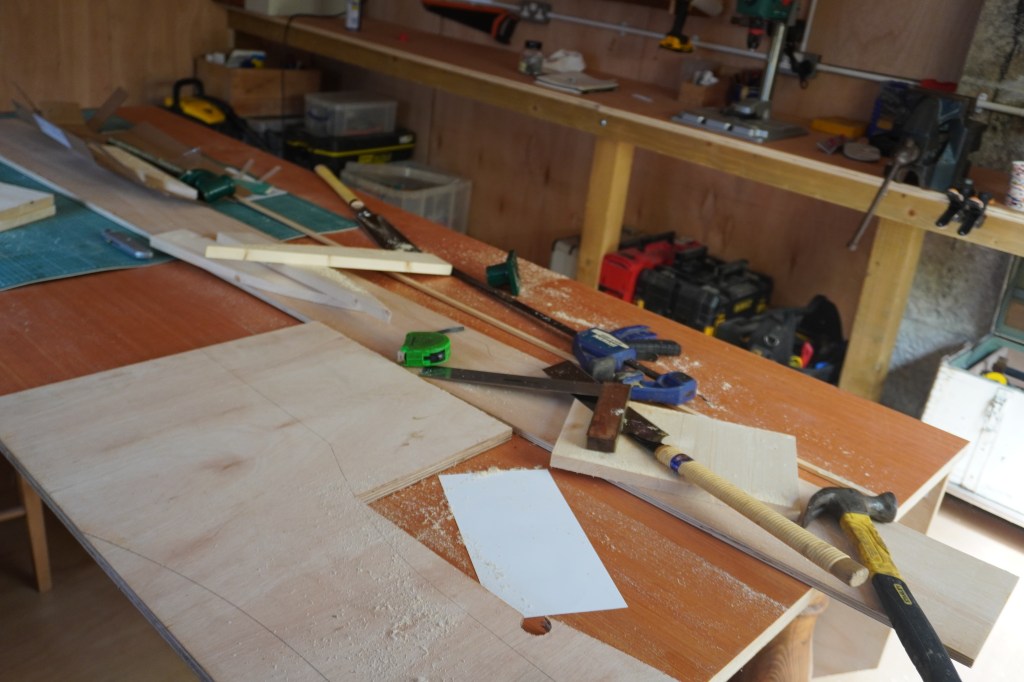
Sorry about the long intro but I keep getting reminded how much the workshop has changed every time I walk in there. Today was the first time that I gave any thought to hanging some doors at the large hole otherwise known as the entrance : as nothing else that is huge or supremely heavy has still to go in I can now shut up shop by fitting a couple of doors.
So anyway : the start on a Dutch style carpenters chest.
I thought that what I would need to start with was a set of plans and there are plans available although not easily so such that I seemed to need to subscribe to some woodworking magazine or other. Instead I mostly worked it out based on watching several videos ; one English maker replied to my question about the critical dimensions saying that it was a matter of laying out my own tools and marking out a border around them. What I slowly worked out is that most Dutch style carpenters chest are very close to each other in dimensions because, mostly, we’re all using the same basic hand tools although some makers build their’s to take power tools as well : with many tools now available with a battery powered option I can see that it’s a useful idea for some tools – the main idea though is still based on hand tools which still do the required work.
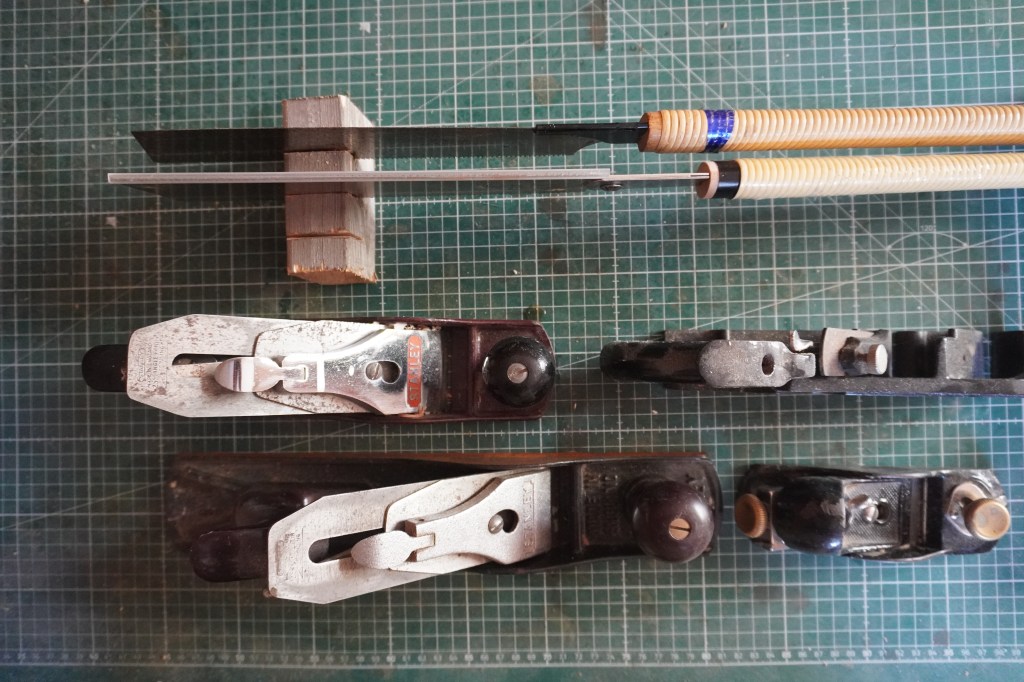
Working out the spaces needed for 2 tills for my basic planes and one till at the back to take handsaws. The total length is determined by the longest hardpoint saw that I often use for breaking down big stock : it’s also the one dimension that iv’e been able to glean from a Youtube video. The width of the base, where the several tills are, is determined partially by the available width of the side panels (below). For visual convenience I set a length of my available timber at one side and that confirms the two plane till layout which is what most folks do.
The second critical dimension is the length inside the chest and I determined it by laying two of my planes nose to tail – a No 5 Jack plane and a No 4 smoothing plane – measuring over both and adding a little wiggle room at the ends. The third dimension is where I fell flat on my face when I came to cut the sides and realized that they looked wrong (too short) the moment that I cut them. I think I got the top angle right which is variously given as 30 degrees.
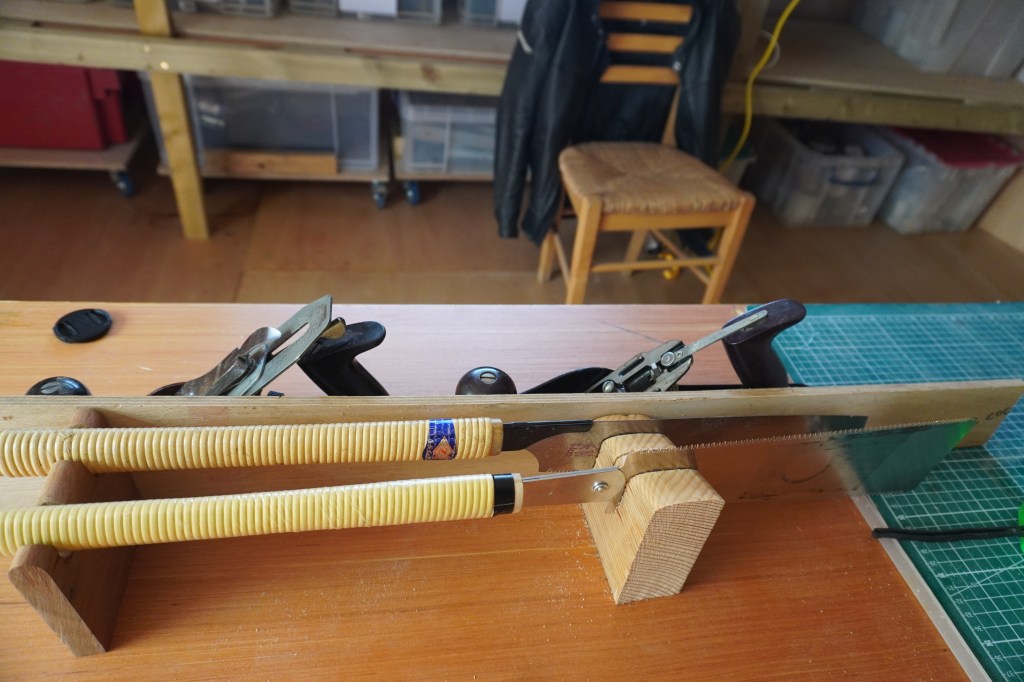
Second iteration of a saw till and third for the saw handle chock.The temporary spacer is only in place to help me determine the overall inside length and width. My layout for tools is slowly settling on 3 hand saws and 5 planes in the base.
Making is an iterative process !
According to maker Adam Savage that is. I had hoped to get a bit further along but had to stop at that point and have a rethink about the dimensions & then go and buy some new timber ; luckily it was only store bought whitewood so instead I called it an official down time and had a go at rescuing my planes instead.
Having been given an education in woodwork where a smoothing plane was one of our primary tools I hardly use mine but prefer the longer jack plane for most jobs and then the far smaller block plane when i’m shaping edges. Unfortunately for me it’s my jack plane that has suffered the worst damage from water ingress to my converted seaman’s chest which I intended as my woodwork chest. It was a very wet winter and spring so many of my tools were damaged in some way : I had some of them inside the house during the worst of the weather but even so rain got into both of my toolchests and I had a lot of rescue work to do.
One thing that is said about simple hand tools is that they’re cheap to buy secondhand so not only is a new (secondhand) plane definitely on the wish list but I actually want to end up with two functional jack planes in my tool chest : one for fine work and one to convert into a ‘fore’ plane with a bought in curved iron (blade). With the building of the carcass on hold the first real piece to make is one of the smallest parts : a till for hand saws, my plan being to have 3 hand saws in the chest and 2 strapped inside the lid.
I’m already a bit of a devotee with Japanese pull saws so I made the first iteration of a saw till based on my Ryoba and my Hasunme with a slot in between them for a more conventional European style carcass saw, which is on order as I write.
There’s been a lot happening since I sat down to write up the first part of this project. In the interim iv’e been having a bear of a fight with the brambles – and they won BTW. This week I was finally able to get back to it and to start on the hardest part for me, which is to build the chest or cabinet. Instead of working with the plywood left over from the workshop project we went out and bought some commercially available white pine that is made up from strip planks all glued up. It’s never going to be exactly right and not even dimensionally stable compared with plywood but I like the appearance far more and my intention is that it will live in the dry so maybe it’s not so important.
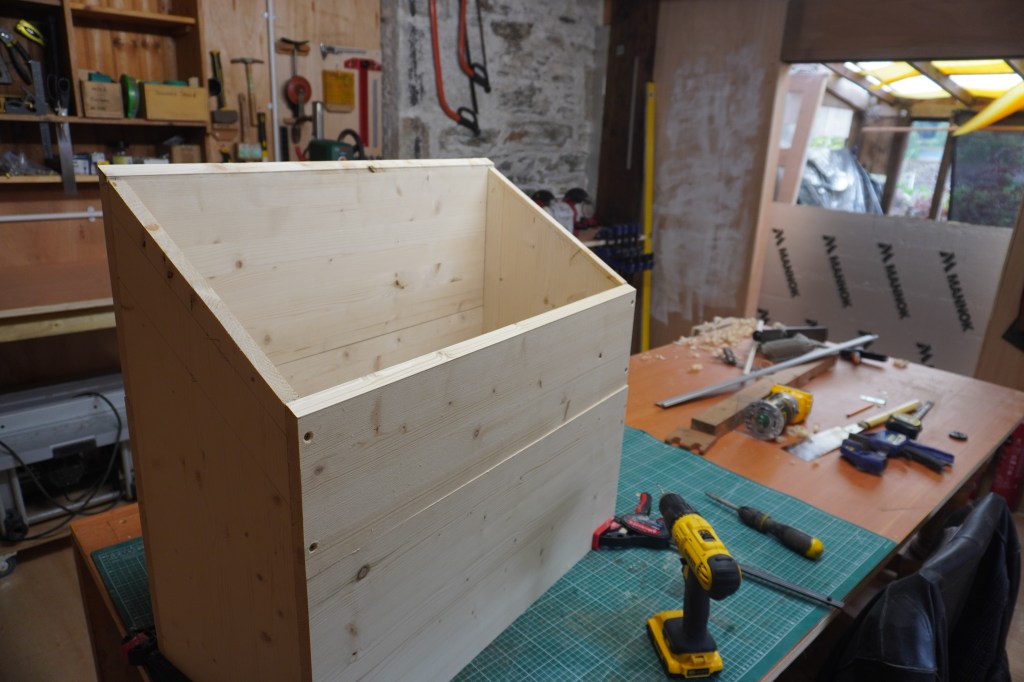
That’s the basic box minus bottom and lid. The idea with the front (Towards camera in this view) is that the bottom front panel isn’t fastened in place but can be locked securely with a sliding bar. For me, that’s not awful work so far and iv’e really enjoyed using the bench as a construction table.
Several weeks later
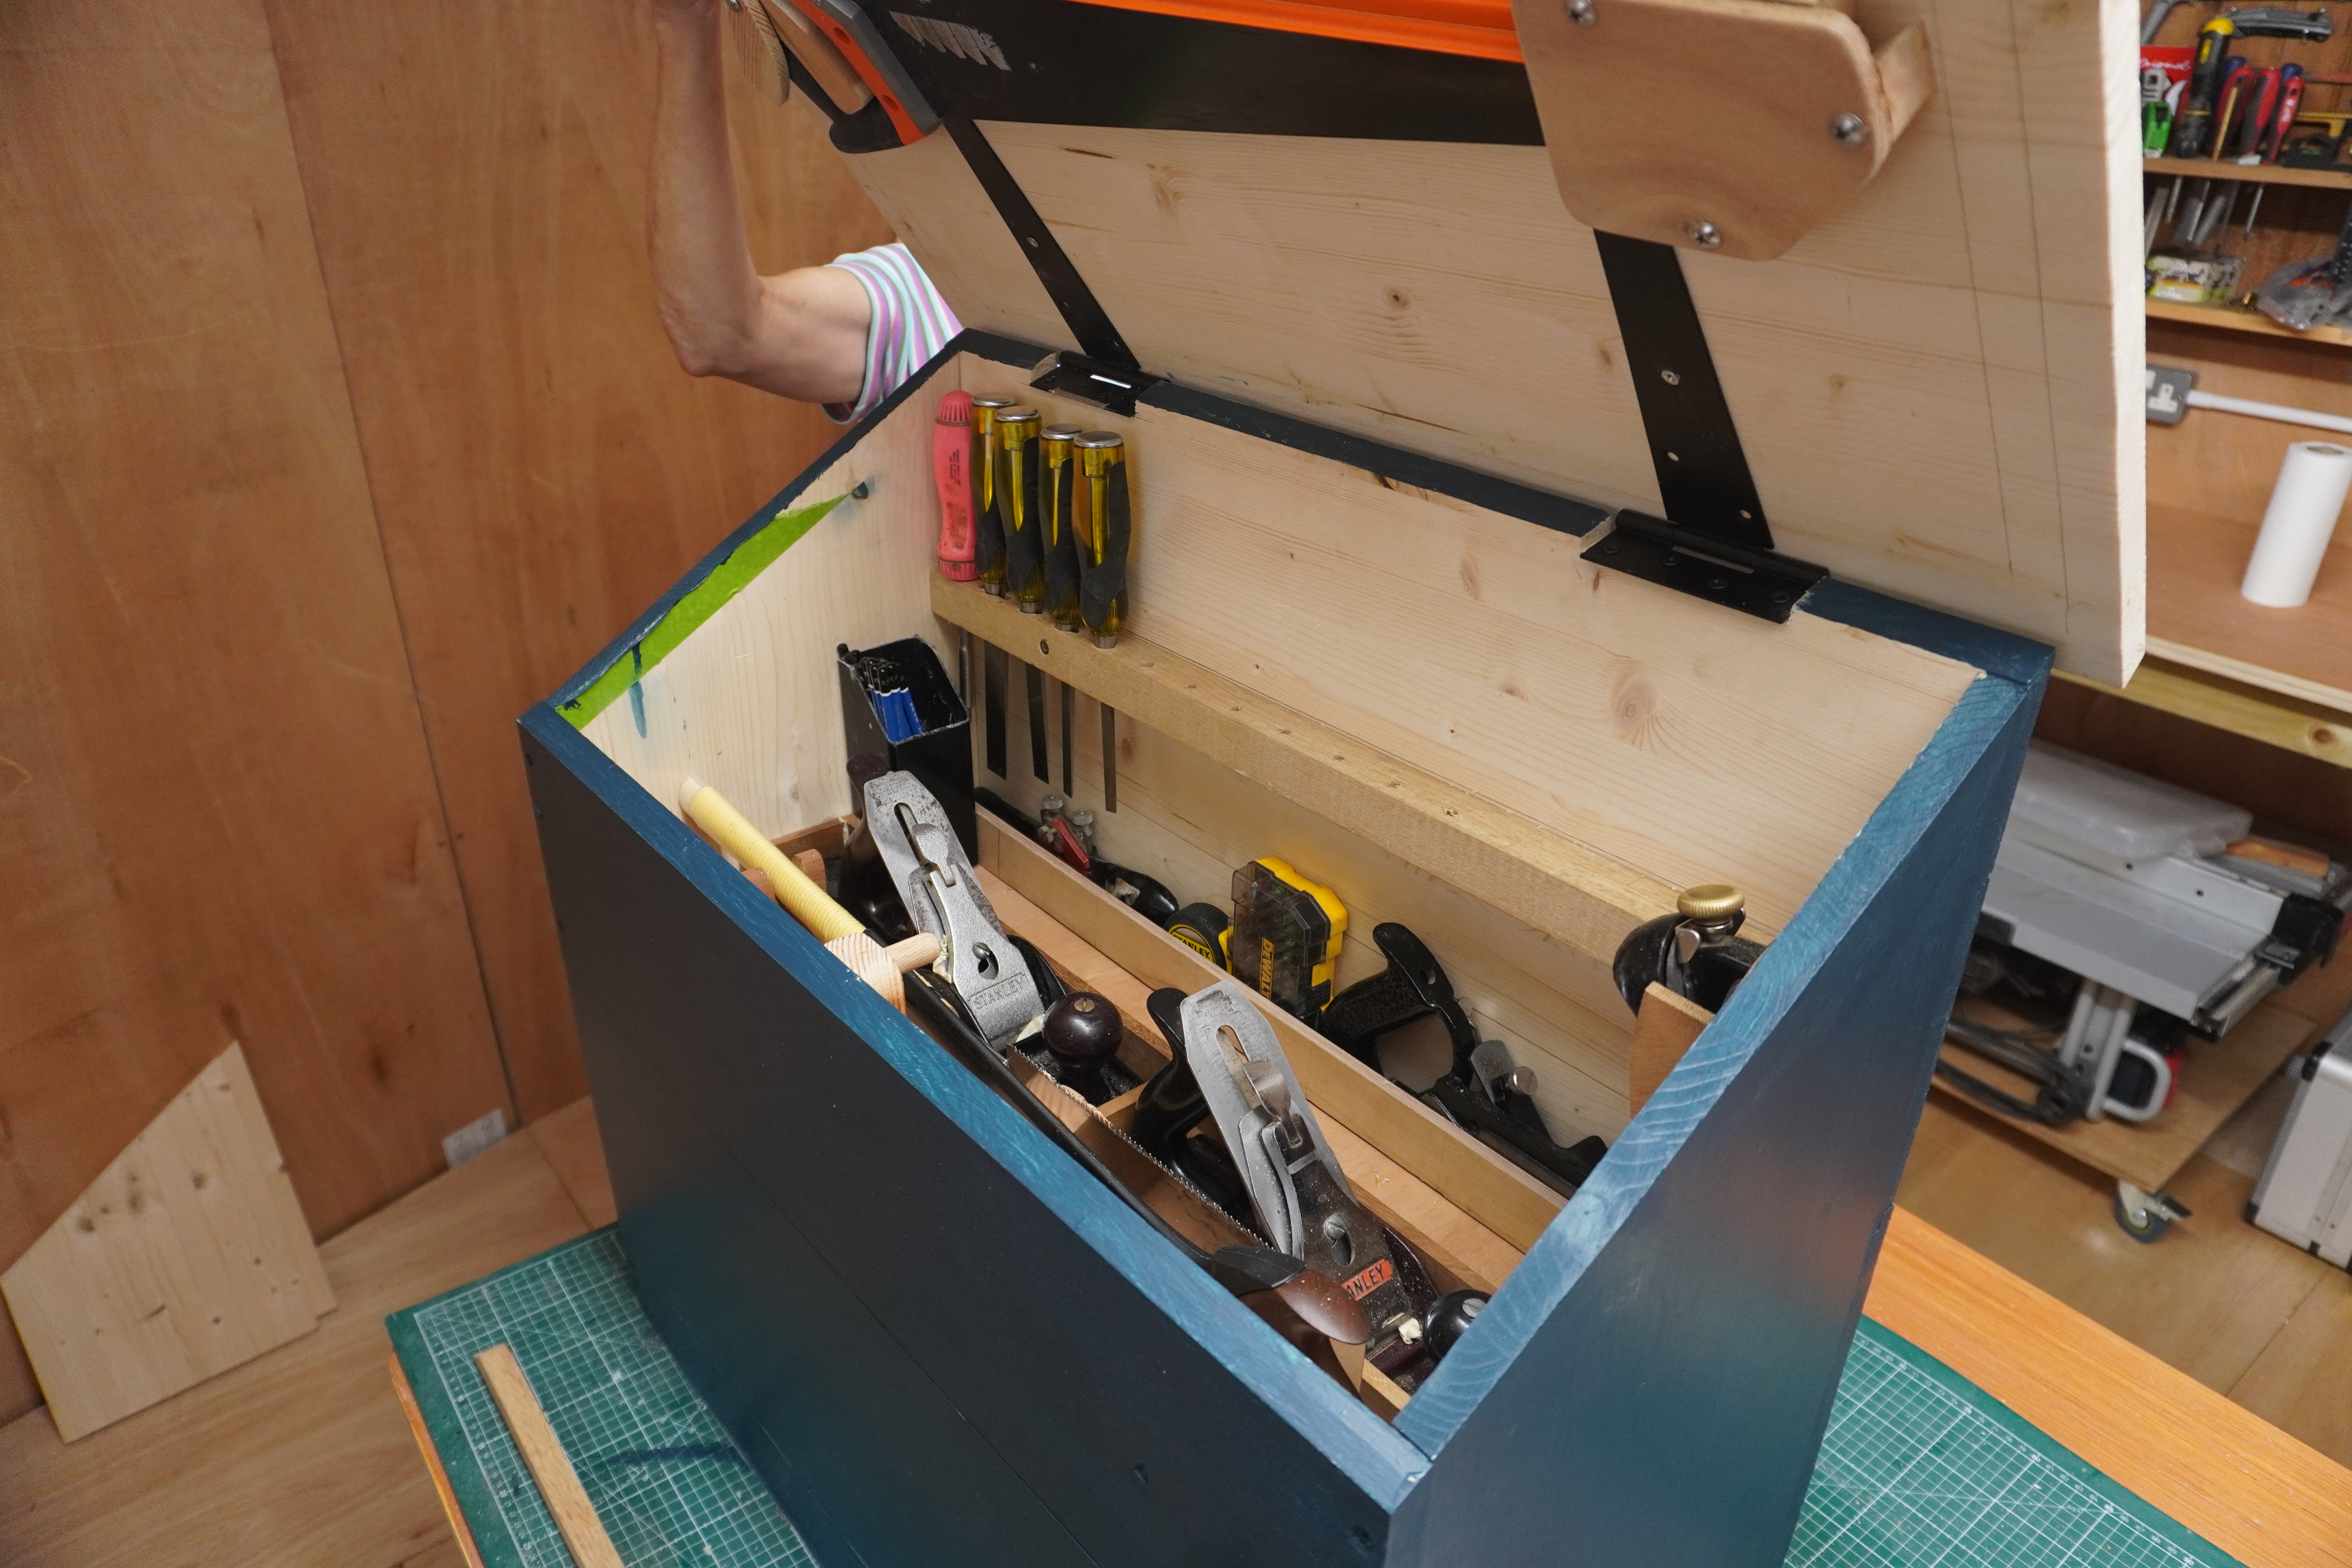
There’s been a lot going on and I haven’t given the project much time and attention but what I have done is work on the closure of the front bottom panel and the internal layout of the upper tool storage. On the last day of August I finally got to fasten one of the carcass panels on (upper front panel) and to do that I had to take it off first while I drilled the holes to take dowels – using my brand spanking new pillar drill to ensure that the holes are square to the surface. While that panel was off I primed most of the chest and took a photograph of what i’m doing with my tool organization – below.
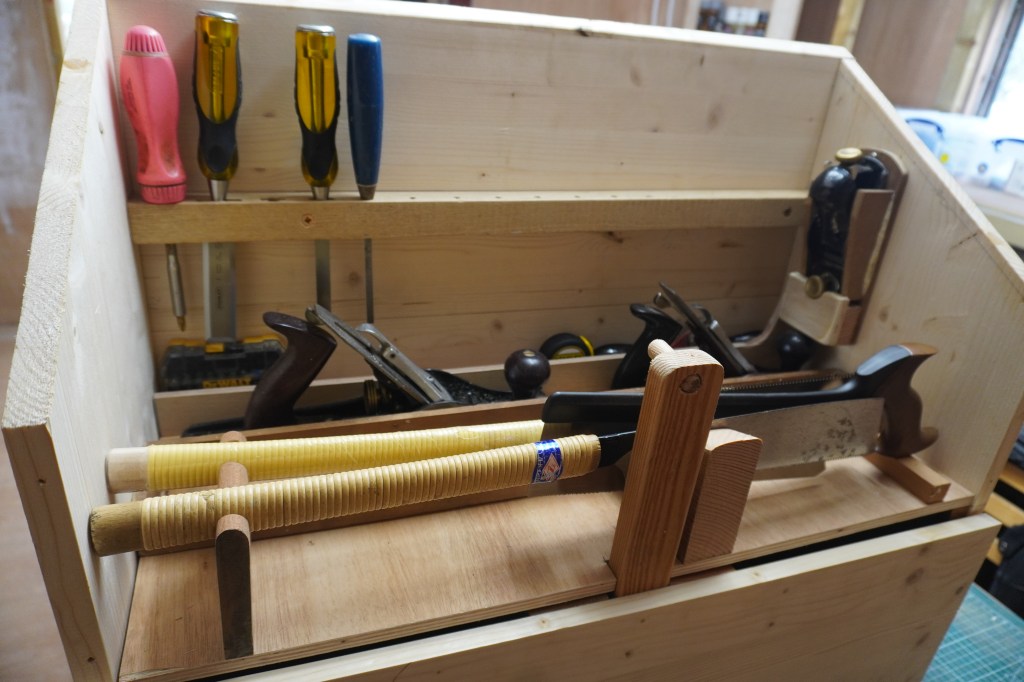
The inside of my Dutch style carpenters chest will look back to front to most makers whom build one of these chests : my saw tills are at the front while most makers have the saws at the back against the panel and rack that holds all the stuff such as chisels, rasps, squares and the like. My top compartment is a bit shallower than most which with the back to front layout puts my tools more to hand : right now it seems to work but the great thing about one of these chests is that it can be moved around ad-hoc.
What seems to work is that I have a third, narrower, plane till right up against the back which works out well for holding my shoulder plane, buts box, tape measure and so forth. The work in progress here is that I was mostly working on the rack that holds the tall, vertically stored tools – my drivers, chisels etc and off to both side I snuck in a holster for my block plane one side and a quiver for my working pencils. As I write, several months later……..the chest has a front and a lid and the lid has it’s first saw holder : my hardpoint/crosscut site saw will go there for now.
September & almost done.
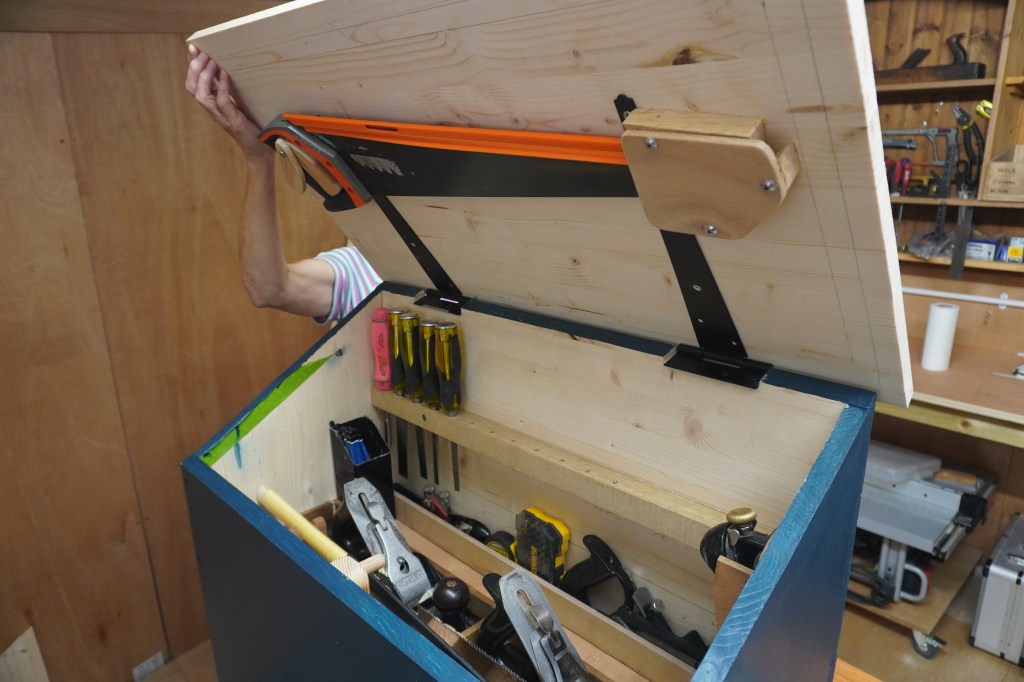
As I write, we’re back from our Autumn camp and I finally got around to almost finishing the upper layer – which is the main tool compartment of this kind of chest. Right at the end I had another look at the layout and sizes of my most used tools so I now have a half till at the deep end where my spokeshave, bits box, tape measure and shoulder plane now live. The lid is on with it’s first saw – again it’s a standard commercial hardpoint saw but it really does the job so it has earned it’s place. I’m slowly populating the chest with new tools as I find the budget to buy them : right now i’m watching out for another Jack plane as I want to set one up as a Fore Plane and that really needs a curved iron – iv’e found one on the internet but had all sorts of problems with my bank blocking the purchase when I tried to buy one on a USA site – bank acting like Mummy AGAIN !
Iv’e thought about and planned the lower compartment but not started on it yet : I intend to make my very first attempt at a deep sliding drawer to go in there to take things such as tall and awkward tools and rolls of sandpaper which I tend to use a lot. The eventual idea is to have the chest mounted on a rolling cart which will go under the big table I currently use as a workbench.
Something I took very much to heart was maker Adam Savage saying that making is an iterative process by which I mean that I thought this project might need several tries to get something workable and at one point I thought I needed to go straight to version 3 which I would have built in plywood as I still have a full sheet of 18 mm ply on the timber rack. As it happens I think I can work with this one (version two) for now but it’s given me an engaging idea for a similar chest but one that is specifically designed and built for my model making tools : I like having my woodworking hand tools in one place – especially having built the Dutch style chest to put my tools close to hand access height and fancy doing something similar for the small tools and many accessories I use in model making.
Best wishes Y’awl : I’ll report back on this project in due course but for now i’m going to start on my long term project for the workshop……..see ya then !
Project the second : what do we do with an empty bench ?