


A Sail, Oar & Canvas project post.
Completing the refit work and preparing to launch the CLC Skerry.
As a quick recap of this project so far, I made the decision to work on the Skerry modification and refit during the winter rather than adopting my usual practice of leaving the work alone from the end of Autumn (late October) until the lighter and usually slightly warmer days of spring (often March). With my larger boat projects that gave me a break and I usually took the time to be doing other things – the garden often needs work and I tend to use the winter for that. This year I felt that I needed to get that work done in the Autumn before moving everything around in the yard and only starting on the Skerry project in mid November 2024.
It’s been a difficult winter for me, in fact I had been dreading it due to the effects of my several strokes although in fact the work has been a godsend as it’s given me something to work on every day even when the days have been cold and grey with the overcast. While progress didn’t exactly spring forward I managed to make some useful steps forward most days and as I write (late January) I might be only a month away from being ready to launch. I have to say that i’m really looking forward to launch day as I think it will show me whether I can or not manage a boat on the water – it isn’t a certainty and if it does work out then I think i’ll experience a sense of relief.
I thought I would do this post as a video except that it seemed to work out better as a text and photography post. It is I hope the final, project post more as a quick photo tour of the reconstruction and finishing work and then save the video effort for the launch.
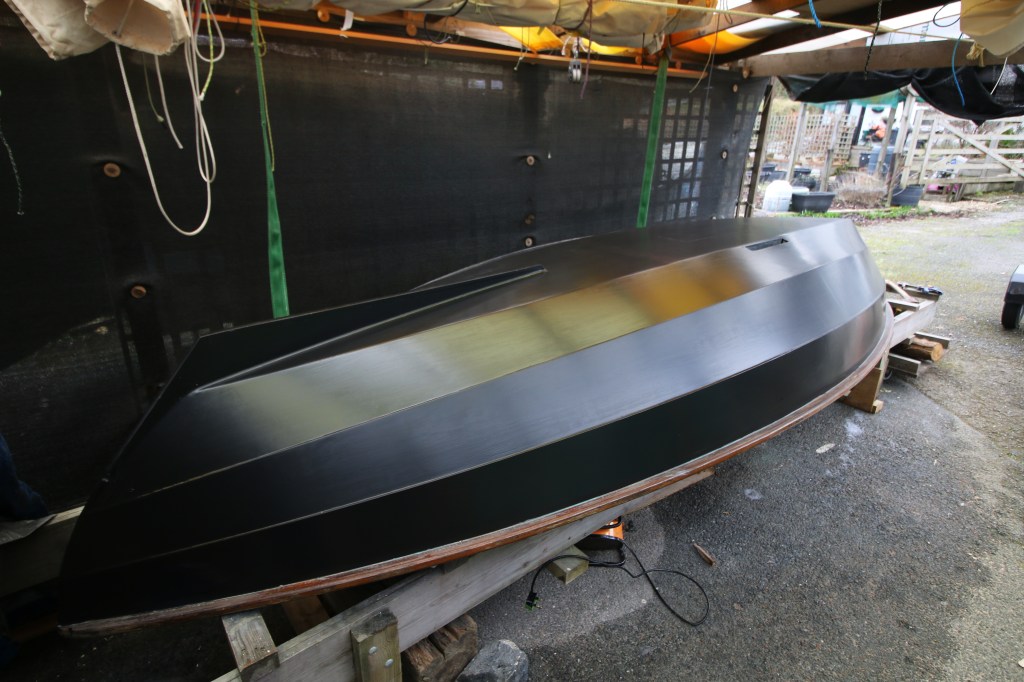
Below, the hull flatted back one final time and with a topcoat of a silk finish rather than the high gloss yacht enamel I originally bought for the job : it doesn’t show up all of the imperfections and my marginal brush work as much as the previous coat of gloss.
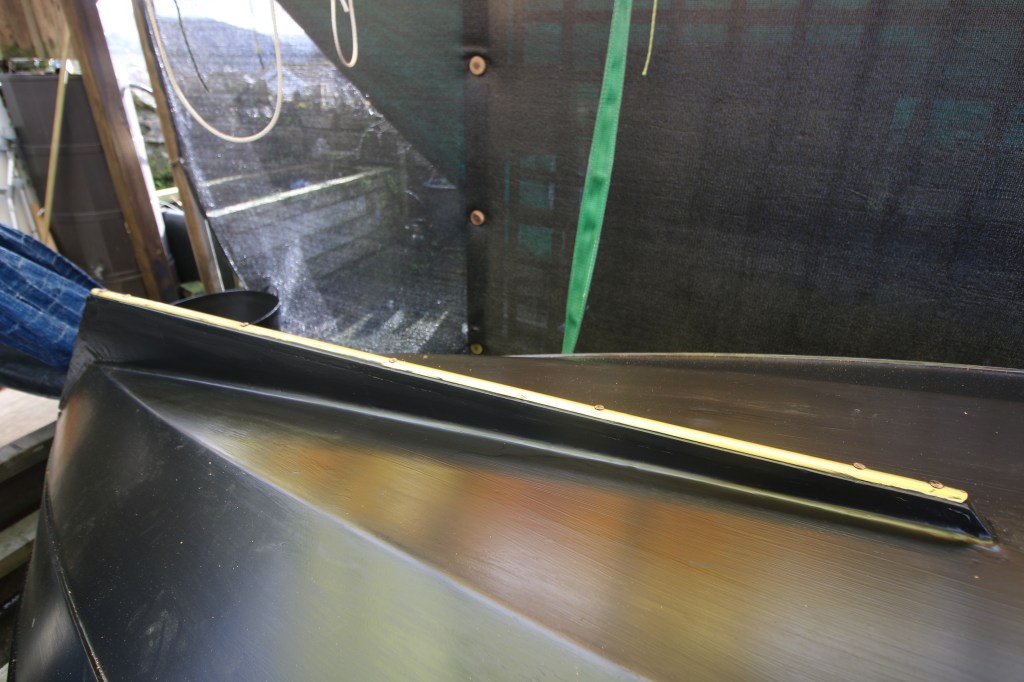
Above, Brass keel strip bonded and screwed to the Skeg.
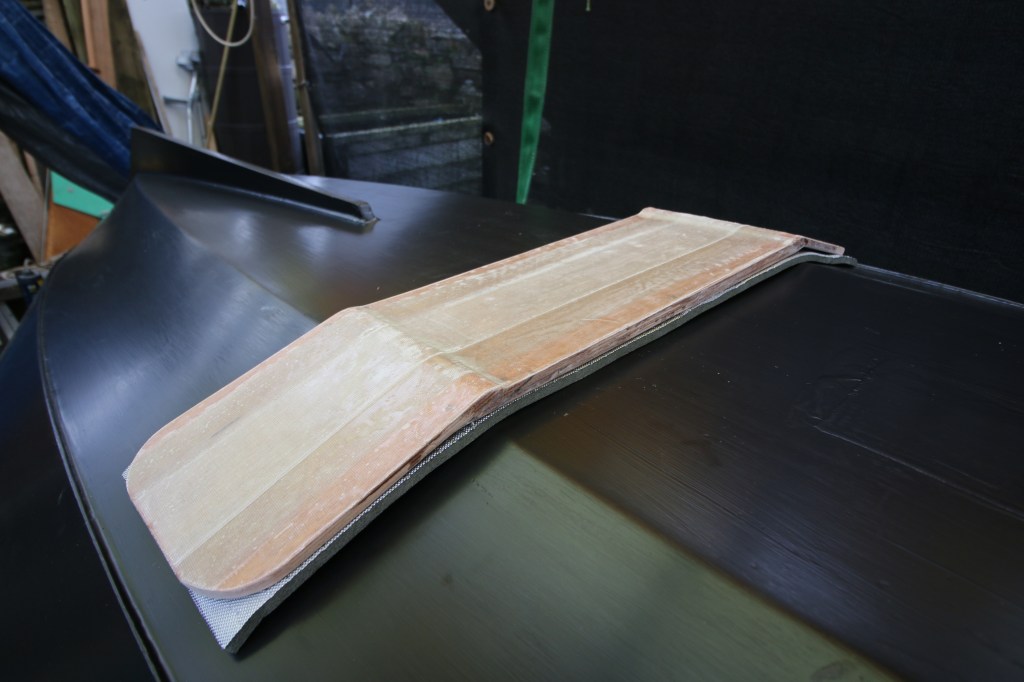
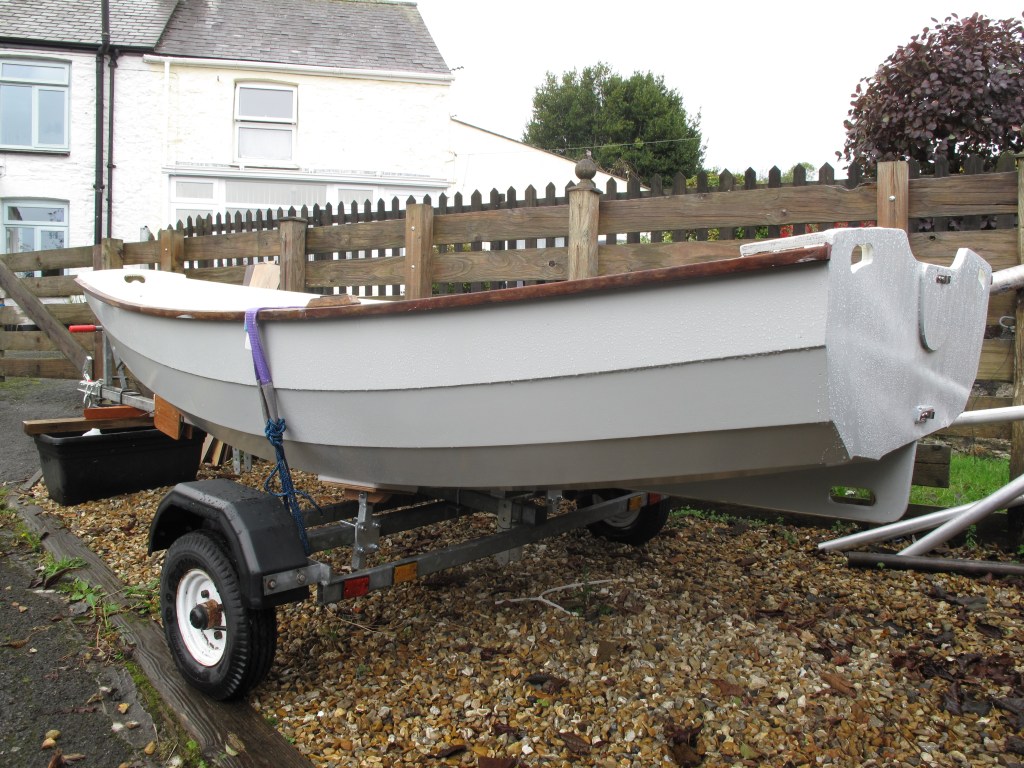
Laminated hull bearer/road trailer cradle covered with GRP and ready to mount on trailer

Laminate, shape and fit rowing seat (because original rowing thwart removed)
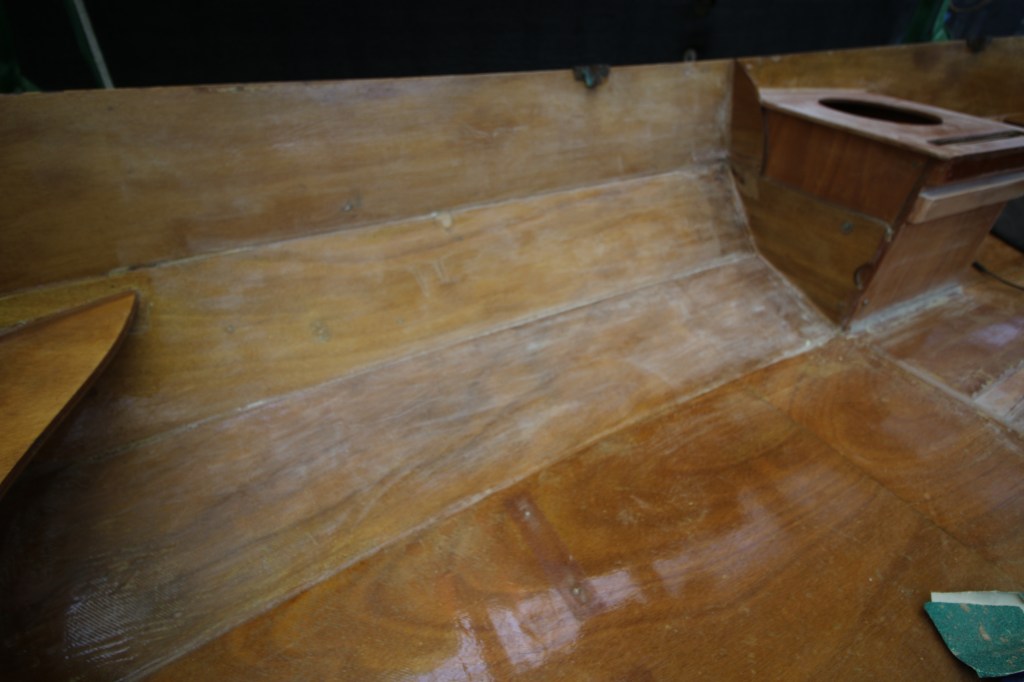
Hull interior sanding in progress (the bottom panel is going to be painted rather than varnished. Each time I go past the boat I do a few minutes of sanding : I did once say that I would never varnish another boat but this one is just about small enough – it’s either that or sand it all and paint it with several new coats as I did with the Passagemaker.
Daggerboard in case, rudder stock and blade, new rowing thwart and mast thwart….mostly all ready for paint and varnish

The lunchbox has landed ! (separate post for explanation)
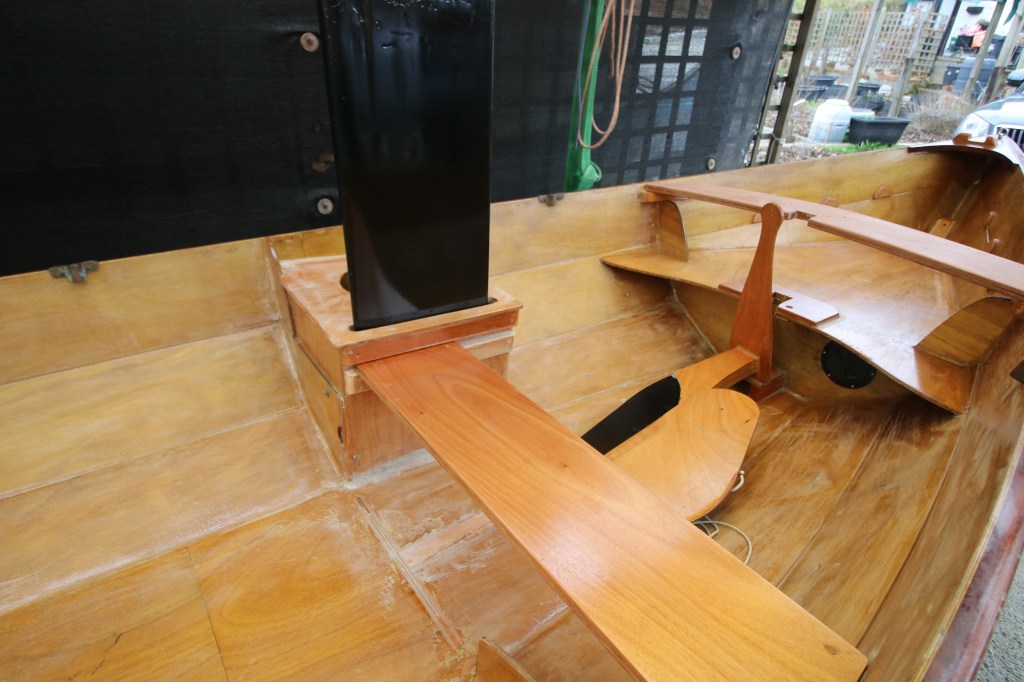
Reconstruction – putting it all back together : bolting in the new for’d mast thwart.
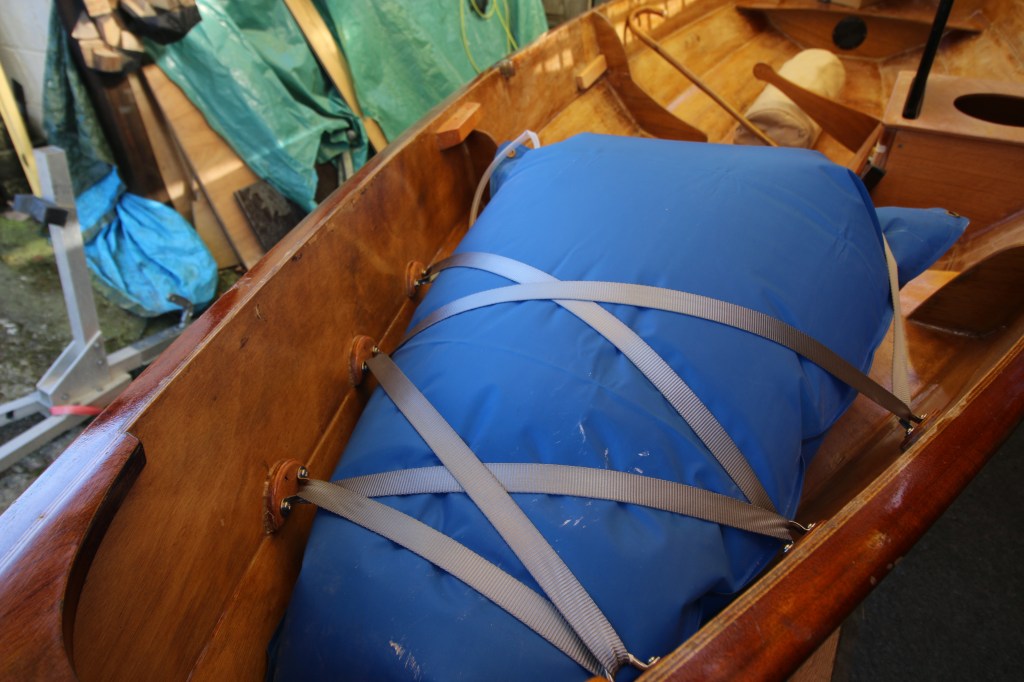
Lacing in the bow buoyancy bag and stern ‘temporary’ buoyancy in the form of Thermarests aft which will also serve as seats.
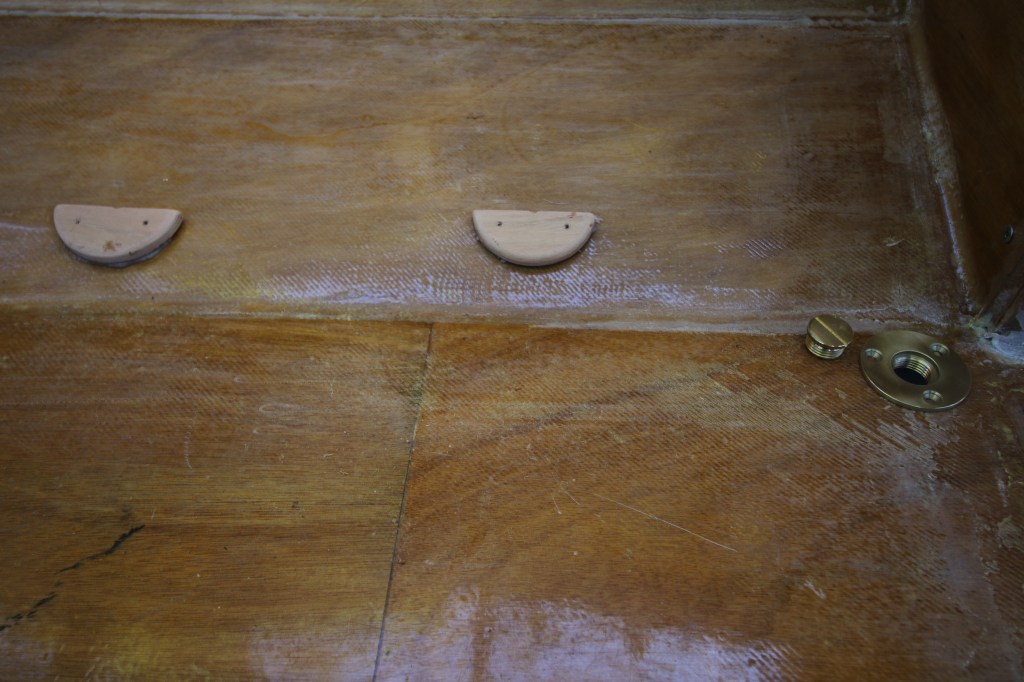
Adding some essential detail : one drain plug and four ‘buttons (pads) to take the aft buoyancy bags .
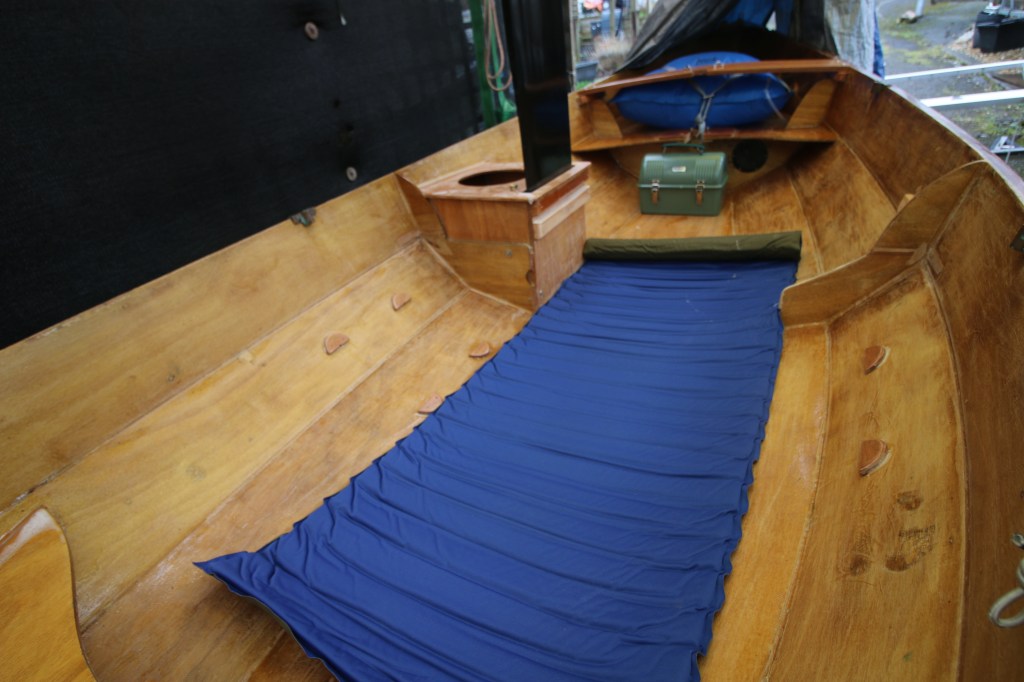
Making space for a camping mat (Thermarest)
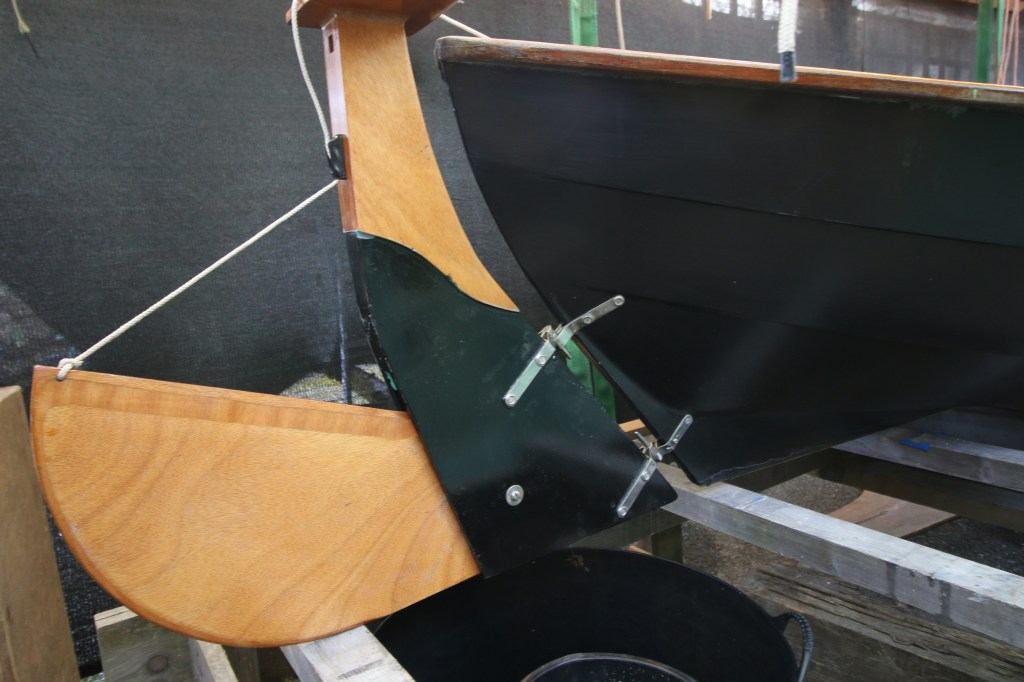
Hanging the rudder and waggle stick (push/pull tiller)
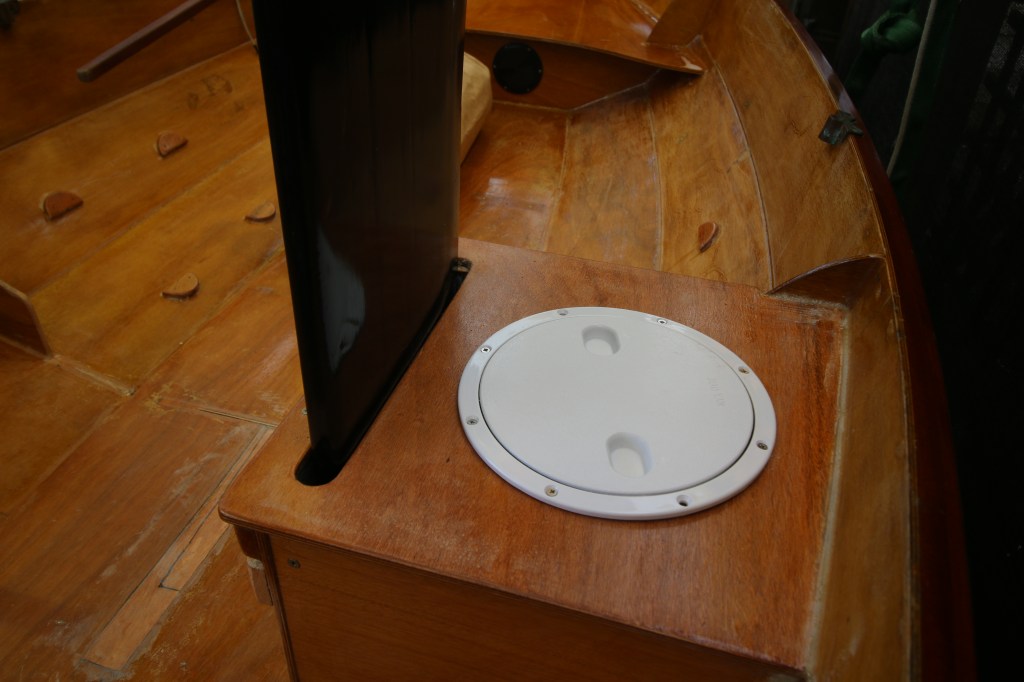
Adding an access hatch to the buoyancy tank. I have it mind that the buoyancy tank will hold my onboard survival/walk out kit and pretty well live their permanently.
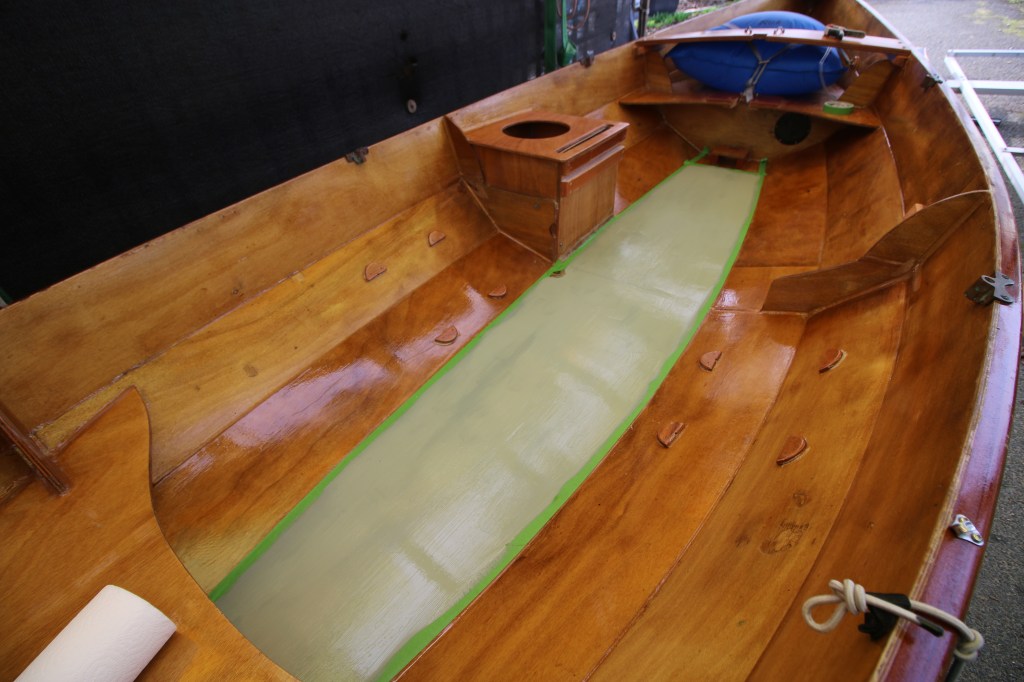
Interior varnish and paint – only just warm enough for either today but at least it’s on. For information the varnish is gloss although a one pack polyurethane which iv’e had good results with in the past and the soleboard paint is a simple exterior grade satin in a water based paint system – maybe not as tough as it could be but relatively easy to freshen up.
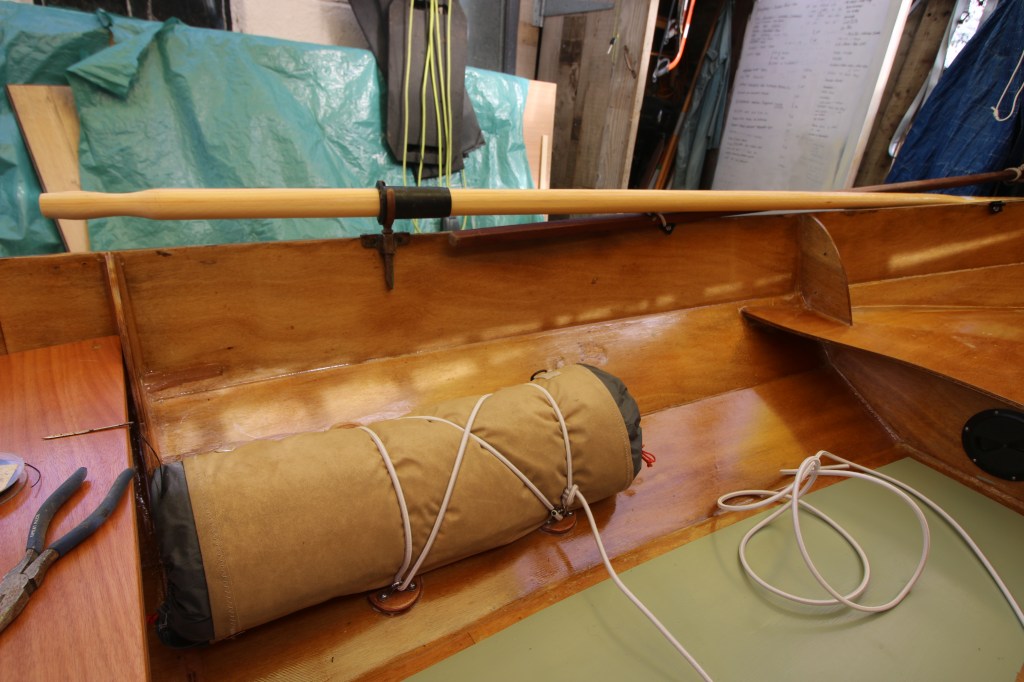
New oars courtesy of Jackie, old rowlocks courtesy of my Passagemaker(it’s all rowlocks btw !) and old thermarest acting as side buoyancy and sailing seat. At time of writing i’m working out the fine detail of working out the position of the oar ‘boots’ and their at sea lashings. The additional buoyancy comes about because the pair of thermarests are lashed in, a bit like canoe buoyancy and should reduce the slosh/free surface effect on attempting an open canoe style capsize recovery.
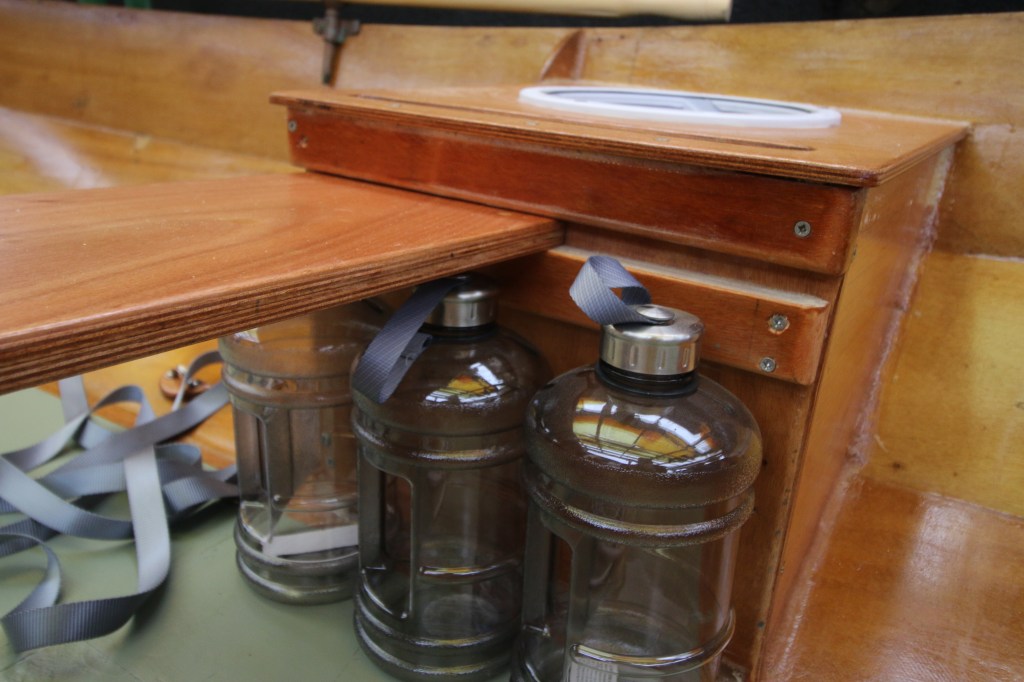
Experimenting with water storage – three of the 2L drinking water bottles are a good size to fit under the rowing thwart and be lashed up against the buoyancy tank : with a 4th one stowed away permanently inside the tank as part of my boat survival kit (future post) that’s normally the amount of water I would need for a long weekend camp. Just to explain that at the same time as experimenting with the bottles I also tried out the water containers from the big Pathfinder as one of the changes to that boat is that I have to get weight out of the stern – again a future post about what’s happening with that project…..it’s not done yet.
Below – stepping the mast for the first time in it’s new deck level thwart – it makes the mast a lot easier to swing into position while using the mast step as a hinge.

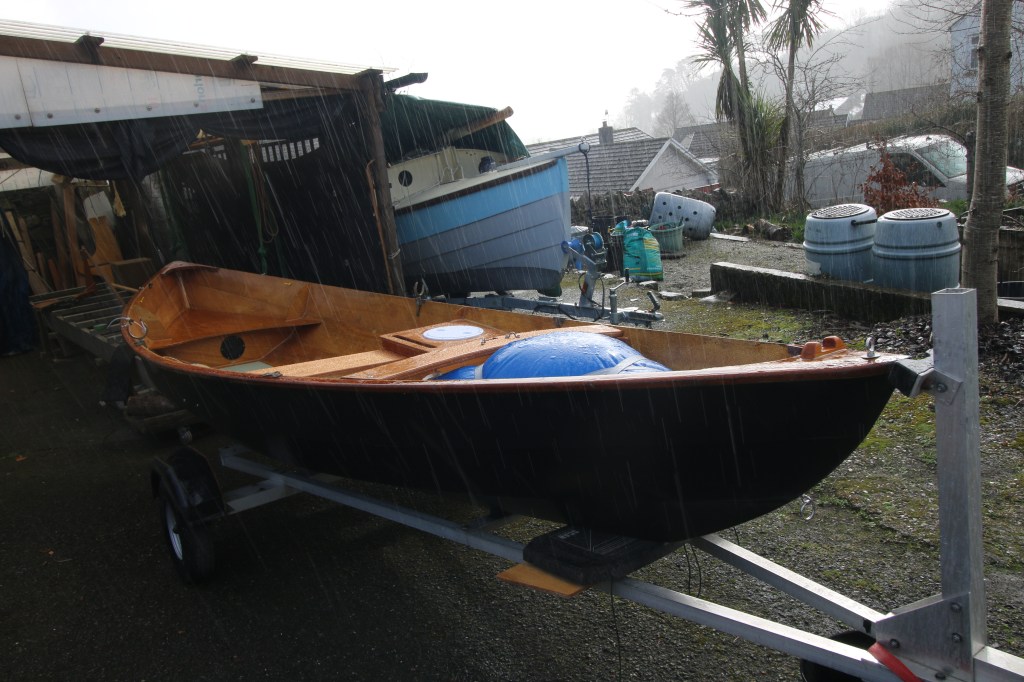
Below – marrying up the boat with it’s trailer – obviously we had to lift the boat on so once again our neighbours helped us and of course it rained !. The important job, which you can’t see here is that I had to do a temporary epoxy weld (fillet) to set the pitch of the new cradle to the angle of deadrise of that position.
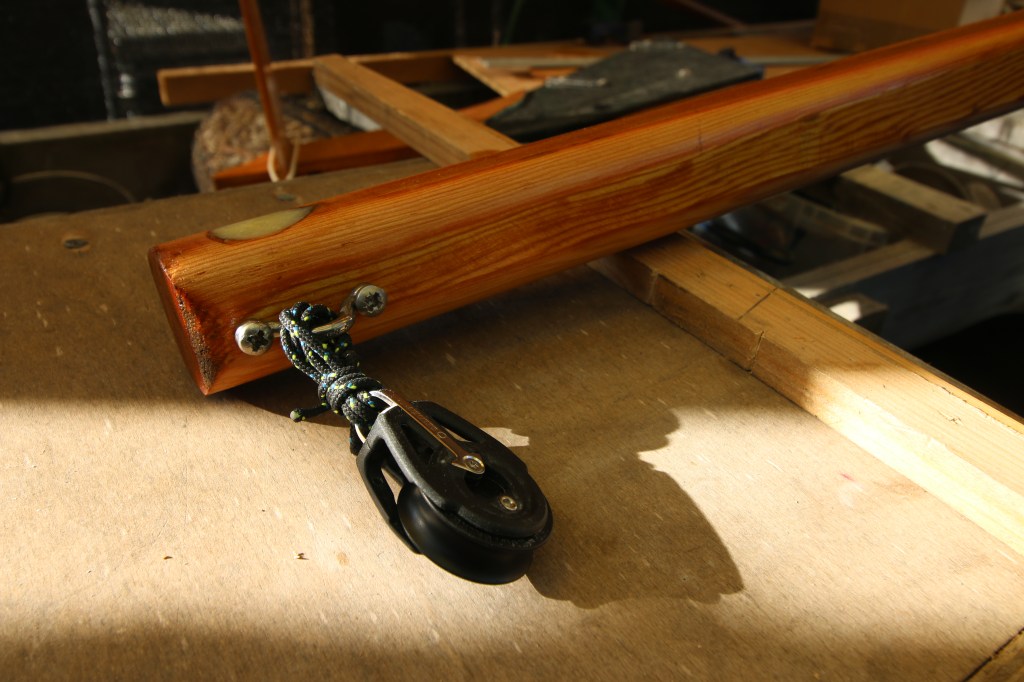
The last day of February and I drive the last screw through the final thing to fit – with the original hole filled and the mast shaped & varnished it needed a new fitting to take the halyard so it got a block that I had lying around not being used.
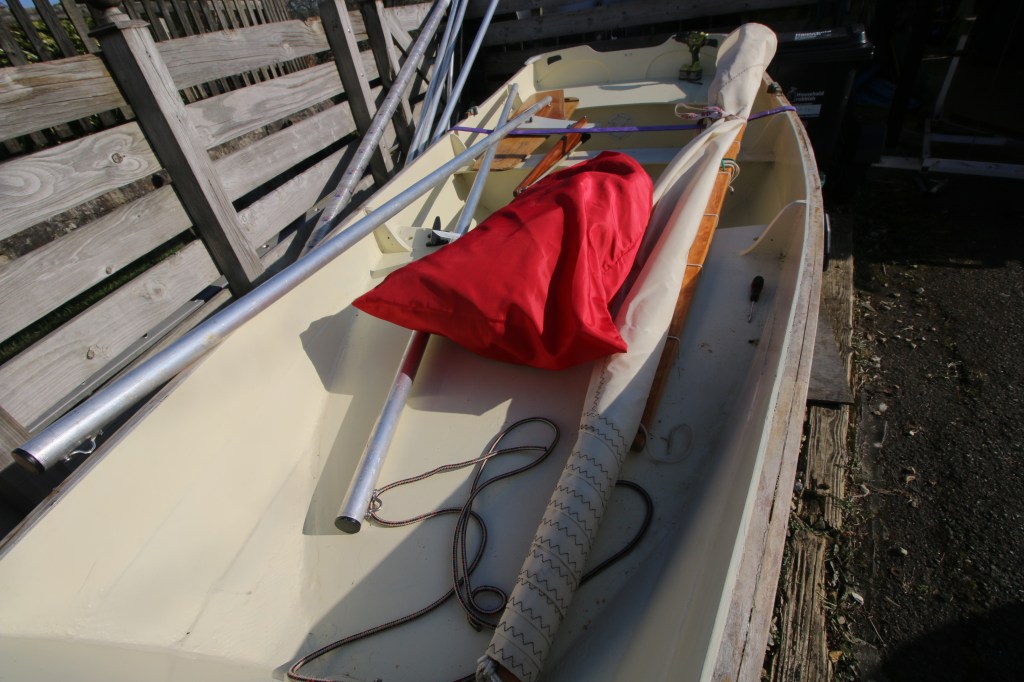
Swapping sails over – the sail that came with the purchase of the Skerry (Red/Tanbark) now goes with the Passagemaker while the Skerry gets THE smart new cream sail that I originally had made for it…….a bit of a long story but the sail that the original owner had is now back with the boat.
The Passagemaker is up for sale via Apollo Duck btw.
Over ?…..it is now but only because it’s too wet (heavy rain) to lift the Skerry off the bench and try it out on it’s new trailer cradle. Hopefully, in the next post i’ll be stepping the rig for the first time, marrying up boat and trailer and then taking the whole thing for a proper salty wetting.
Recent tow and launch video :
Best wishes
