

My second post covering the indoor modeling workstation.
In my previous post about this project I detailed my three attempts to set up an indoor workbench that I could use for my various modeling projects and not be permanently in the way as my one time sewing table used to be : that table is now out in the real workshop which isn’t finished yet. the picnic table that I bought as a replacement didn’t work at all and what eventually happened is that I bought a secondhand dining table and modified that for use.
In this post I want to take inspiration from maker and professional modeler Adam Savage who has the most intensely packed workshop that iv’e ever seen such that some kind of reorganization is a regular feature of the Tested channel video playlist. Savage’s own workshop is so packed that he frequently has to have a major cull of tools not used and materials that haven’t made it into a project : he describes workshop reorgs as a Tiling problem and within the whole he has separate workstations for many functions but often works and films from the one place and the thing he says about the workstation is that it needs first order retrievability of critical tools so that his flow of work isn’t broken. His other saying is that it’s very rare to have in mind some Nirvana like end stage of workshop perfection and the key is often to simply see and carry out the next step.
It’s very early days for my modeling projects and this weekend, as I write, is the first time that I sat at my new workstation and started work on my long term railway model/diorama of Trungle hole. Here then are the first three next steps that I took to make my little maker space more functional :
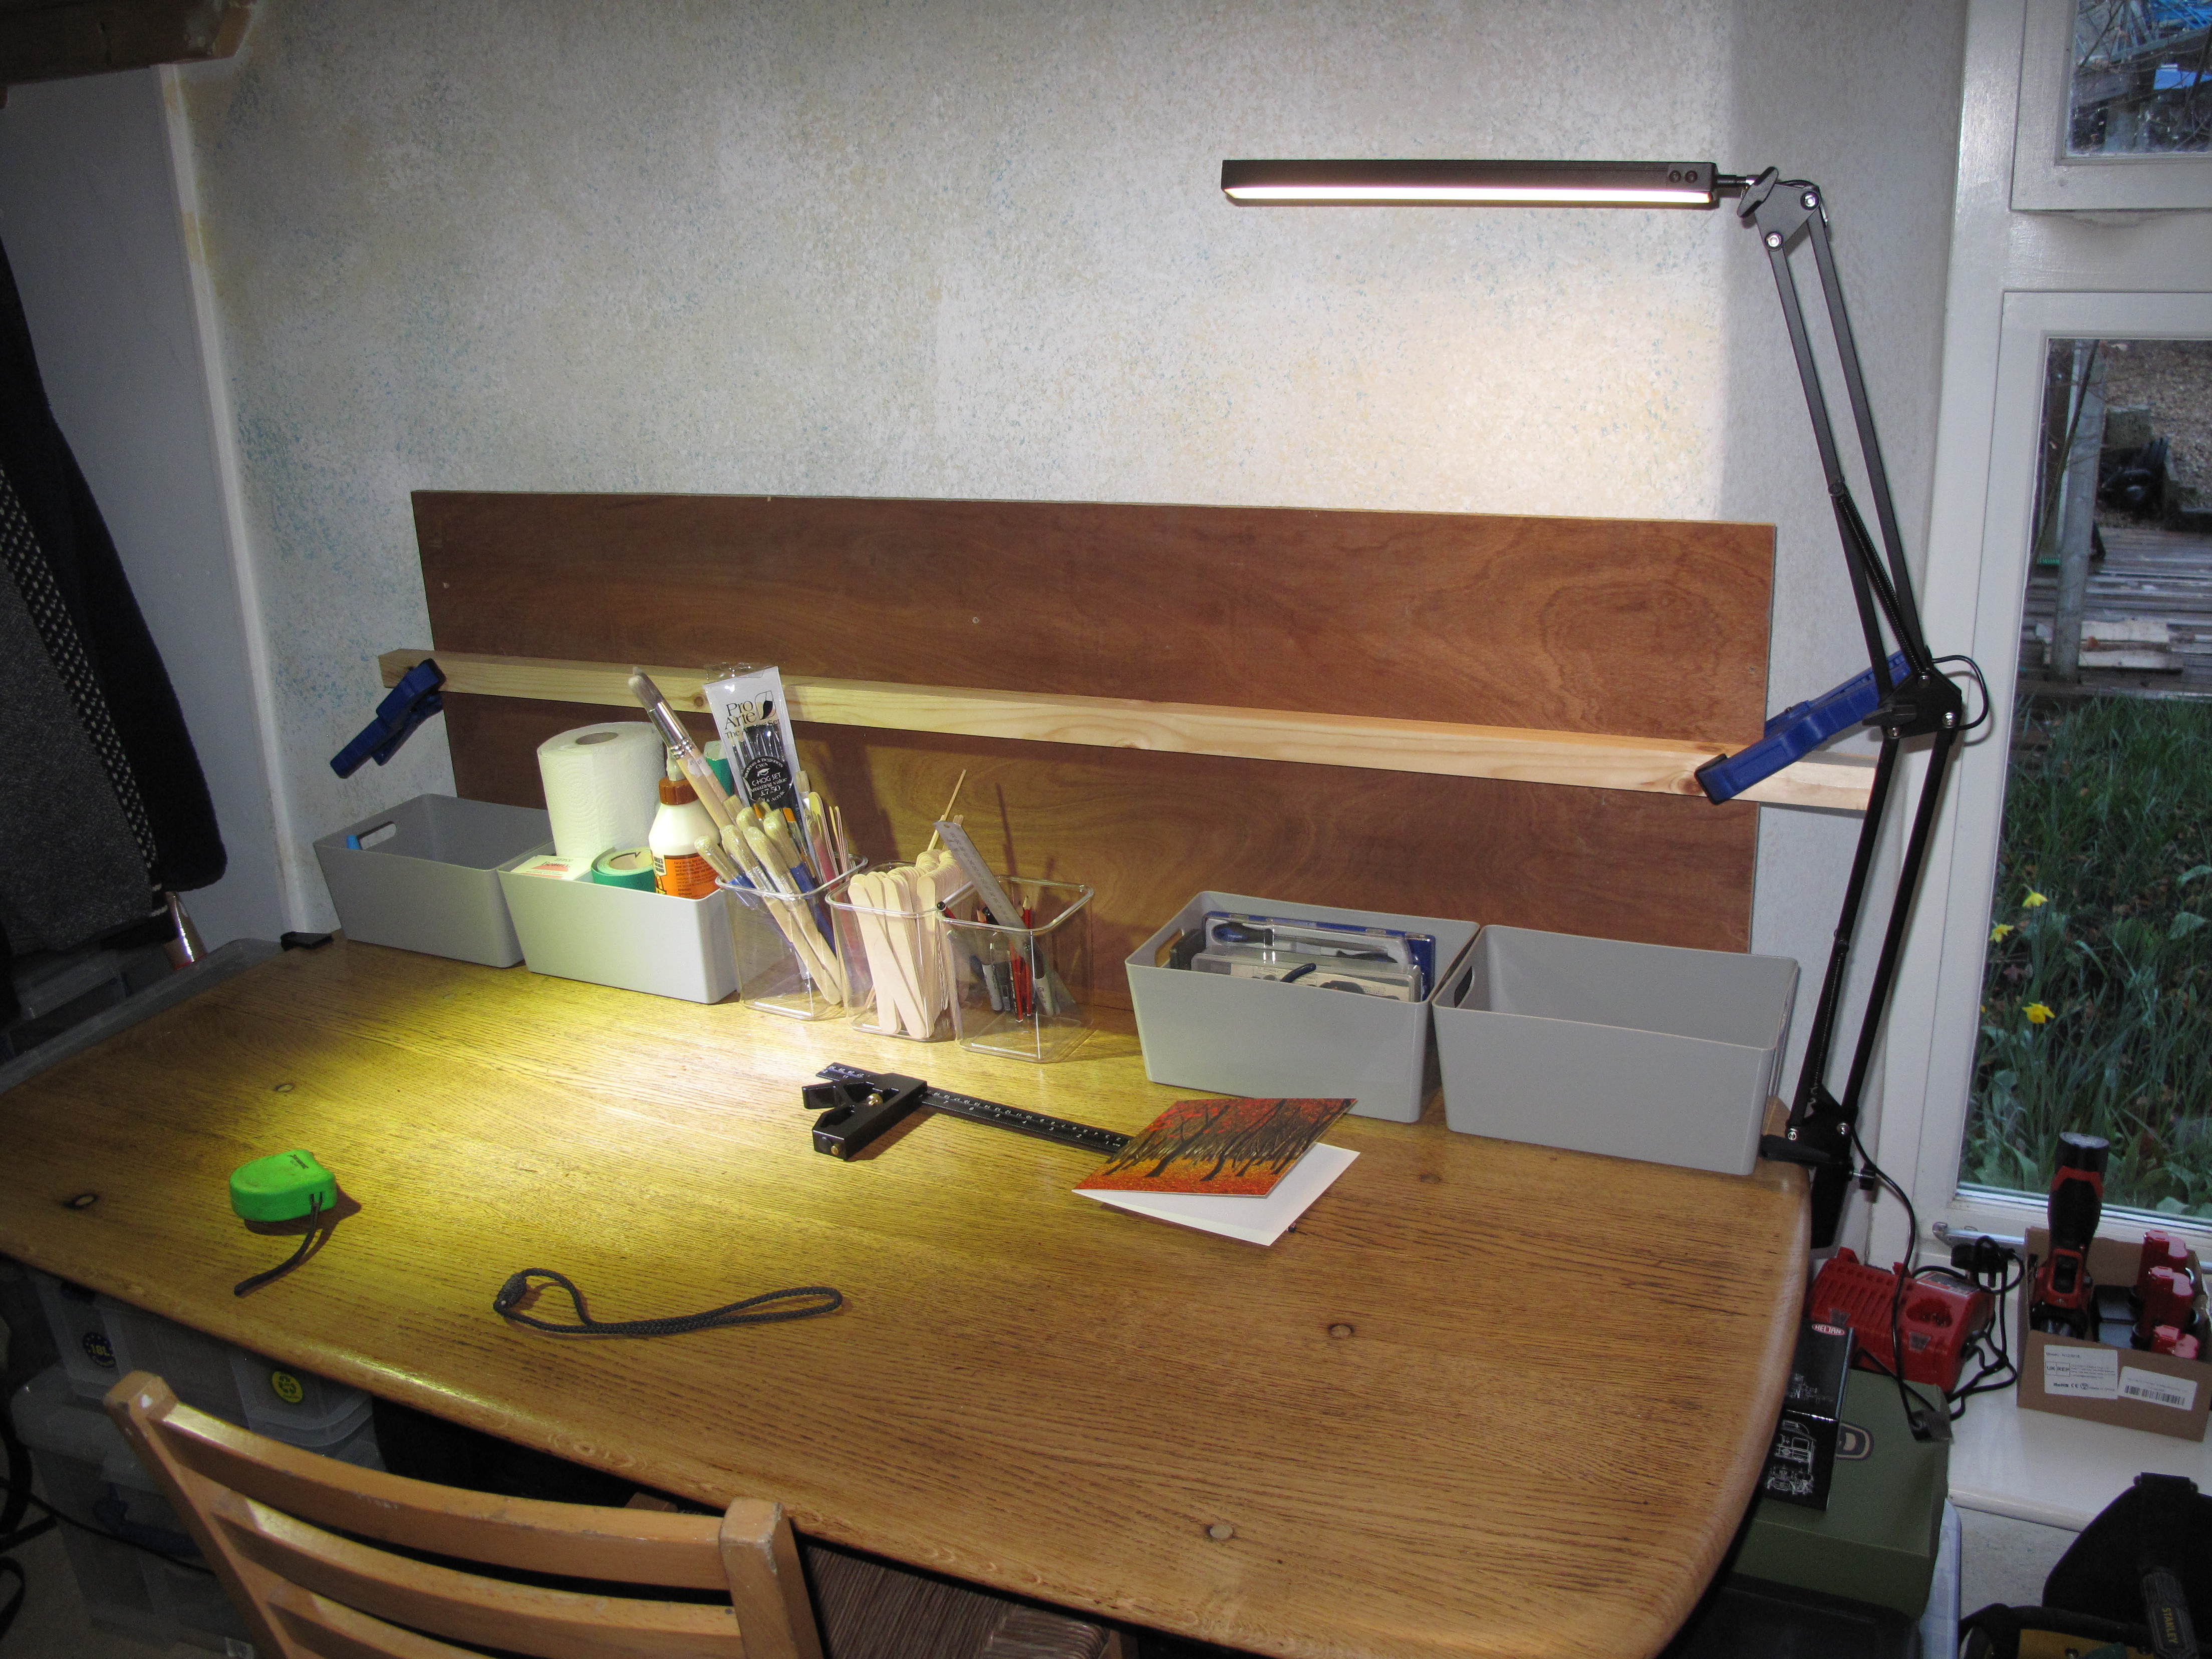
Step one – more light.
One of Adam Savage’s sage words of advice to a new maker setting up his first work space was to ensure that he had enough power in the right form and above all to add as much light as he could wherever he had to work. Power is a slightly different option in the USA where many of Savage’s tools used 110 volt but some required what we have in the UK and that is 240 volt which is apparently a lot more expensive. Several of Adam Savage’s larger tools, for example his big lathe and mill need 3 phase. I did wonder if I need 3 phase when I come to having the actual workshop rewired but apparently not : the heaviest duty tool I intend to have straight away is a MIG or multi function welder and most of those run on standard 240 V. What the main workshop and my interior work station both need is provision for a charging station as i’m using battery powered tools more and more and I even treated myself to a small 12v drill with Lithium batteries for this project and that’s the third battery platform iv’e owned although I intend to run with only two in the future but have more actual batteries to keep jobs going.
I came here to talk about light though so here goes. What I really wanted was a rig like an old time operating theatre procedure light although most of those are now built in as part of overhead gantries that also supply things such as power, medical gases, vacuum and nowadays fiber-optic cables. Instead of searching around Ebay for something retired from medical use I took the simpler and cheaper option of buying in three different types of desk lights of which one sits over my keyboard so that I can type at night while two are clamped to my new workstation table.
Step two – first iteration of tools and materials access and availability.
With doing most of my early crafting and modeling work down in the kitchen I felt that I couldn’t have a permanently set up modeling bench there as we all know that any horizontal surface rapidly becomes the temporary home of anything else which we haven’t immediately put away. Thus I kept everything in a series of stackable plastic crates and any job took a lot longer than it should do as it took a significant amount of time to find anything – for some things I even used to have to walk down to the old boatbuilding space outside if I suddenly needed something that I knew wasn’t in the house. This feature was a bit like the days when I had a large tool collection living on my boat and a second one that had to be transportable in the back of the car for when the boat was in the yard : climbing up and down a ladder multiple times for that one tool iv’e forgotten yet again gets really tiresome.
Maker Adam Savage calls this a flow problem and that any disturbance in the flow of work is to be avoided : he even has several sets of the same essential tools at the various workstations in his own workshop. I don’t so much need that approach and I have my general purpose DIY orientated tool tote under one end of the new upstairs work table but on it iv’e chosen to have the tools and materials that I actually use, most of the time, immediately to hand.
I guess that this step is the one that will be subject to the most messing around with. So far I found four really useful plastic trays at the outdoor store and three taller kitchen containers at the supermarket while we were doing our weekly food shop – the kind of containers that are intended for the tea, coffee and sugar : the latter now hold everything from pencils and sharpie markers to paint brushes and a hundred tongue depressors – I know because I emptied a new box straight into it. Even this morning, as I write, iv’e messed about with it twice and can see another change it suggests straight away.

The workstation gets a temporary back board, tool rail and kitchen storage containers for some of the materials I use. It’s not great and it immediately suggests a remake to produce the similar thing but one further iteration towards eventual success or at least functionality.
