


A Sail, Oar & Canvas project post.
Turning the Skerry over and work on the underside.
It’s January 2025, iv’e finished most jobs I need to do with the boat upright – what isn’t done is being done as we speak – so one of the few remaining critical jobs is tom flip the hull over while it’s still at minimum weight and attend to the bottom of the hull : namely adding some glassfiber cloth and some keel strip to the sleg.
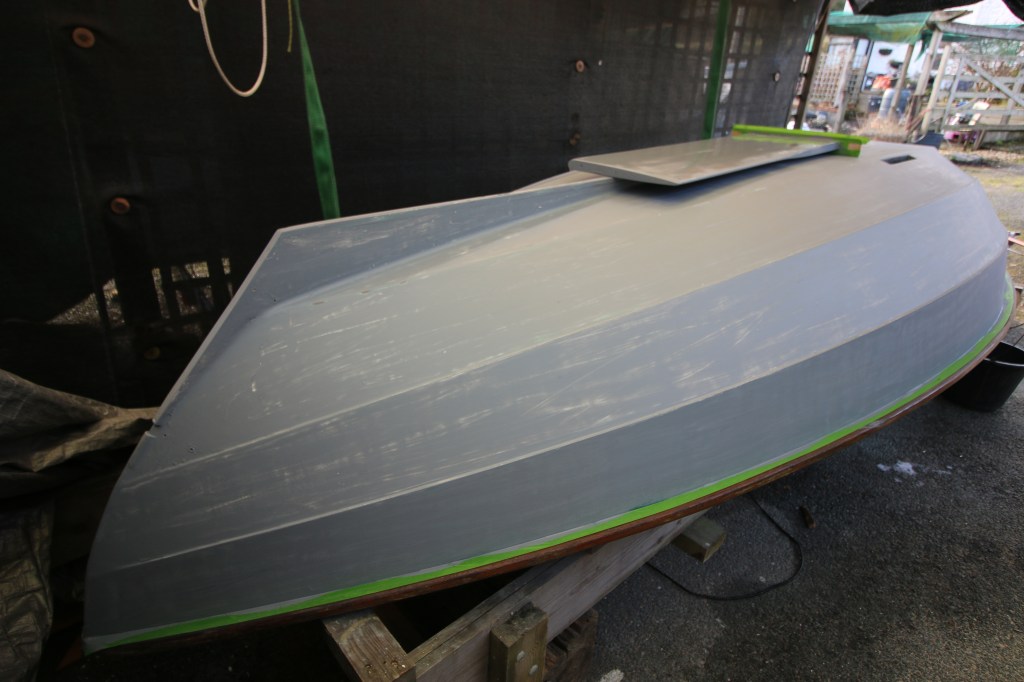
I thought I might have to write a long post about how I set about turning the lightweight CLC Skerry over compared to the two times that I had to do it with the Pathfinder but it was all done and dusted so quickly that I didn’t even have enough time to set up my GoPro to do a time lase sequence of me struggling. It wasn’t a struggle as the empty hull is only just beyond the weight of an open canoe so all I had to do was heave it up with a strap fore and aft and roll it over inside the straps. As I write, the hull has had several sessions with my noisy new sander and been finished with a long session with wet and dry paper used wet. Also, as I write it was too cold this morning to apply the next layer and I think, in these temperatures, that I need to leave the first coat another day to harden off although I did go ahead and soft/wet sand the hull by hand so it’s looking all smart in battleship grey primer. The photograph below is the one that I took after lightly sanding the hull with wet and dry paper used wet.
What this means is that the project is advanced enough to have me thinking about the best way of towing it around on it’s lightweight (Alloy) trailer : one thought I had was to buy a new combi trailer that has both a road trailer base and simple launching trolley although my immediate second thought was to find a way of using either the heavier road trailer that I bought and upgraded for the CLC Passagemaker or to modify the lightweight alloy one . The light alloy trailer does seem to offer me that advantage of me being able to move the whole rig by hand and also is low enough to make for ‘walk in’ launching and recovery.
My paint scheme.
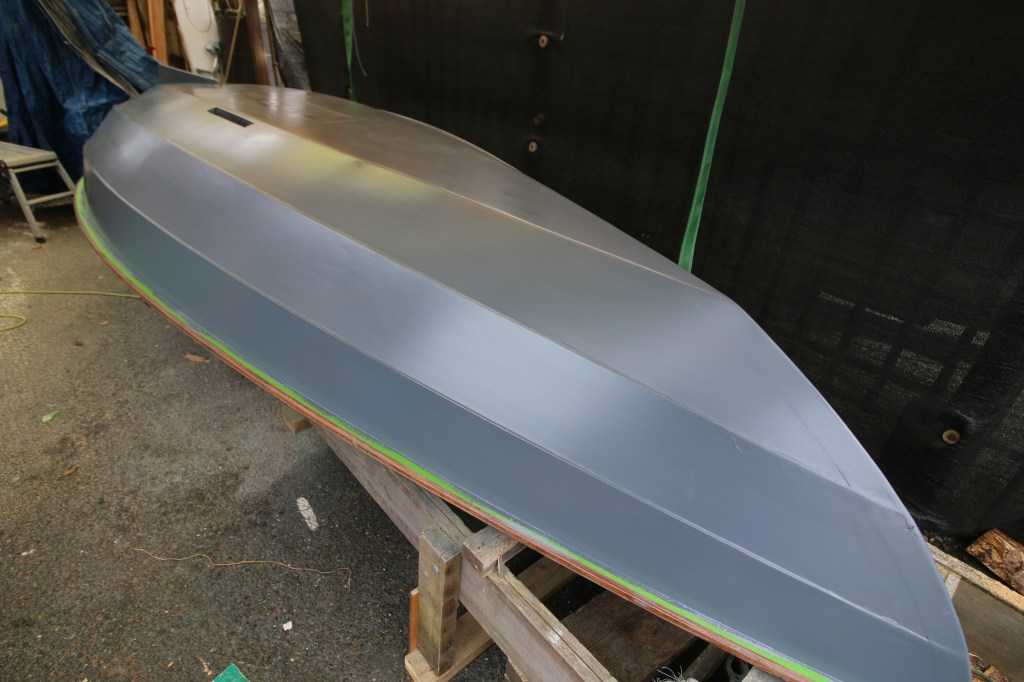
After a heavy sanding session, done first with machine sander, I did most of it again by hand in some detail to help me find the small areas of cracked and flaking paint : I finished the whole job with some wet and dry paper used wet to help me clean the entire hull. The first layer of paint is a simple oil based primer (in my case the one from Epifanes) after which I did another wet sanding although I did find yet more fine flaking edges of the original paint. My second layer, after I quickly paint-patched the mistake areas, is a half and half mix of the grey primer and the black gloss that will form the final finish.
I think of this as an intermediate coat between the primer/undercoat and the top layer of gloss ; in this weather it needs several days to harden off and get a final ‘flattening’ cut with wet and dry paper to take out as many blemishes as possible as a hard black gloss is, in my experience, one of the most difficult colors and paint finishes to get a good result with. While i’m waiting for it all to harden off (before turning) i’ll order up some brass keel band and bronze screws to fasten it on with.
Correction/second try.
So, after a load of work and some online questions, I decided to use my black gloss enamel paint but ‘knocked’ a bit with some kerosene in an attempt to make it more of a silky finish rather than a high gloss one. Even after all my work sanding and then sanding between layers the gloss finish showed up every little imperfection and brush mark even though I had my concentration set on maximum. For a while I even gave the Skerry an unofficial, project, name….Monet – that comes from a painting, or in my case a former colleague whom was rather fond of a make up brush (trowel probably) and some might describe as “looking great at a distance but a mess close up”…hence the moniker Monet.
One thing that the flatted back gloss coat revealed was that the hull was slightly dished where it had obviously sat and maybe bounced on a narrow bearer bolted to the frame – the same narrow bearer that had marked and abraded the hull just aft of the ‘dish’.

While I have the hull upside down one thing iv’e decided to do is build a support cradle, moulded and shaped to the aft hull section and bolted to a new transverse bearer solidly attached to the trailer – this after seeing the scuff marks and abrasions to the hull from the original narrow bearers currently part of the trailer. Where the original bearer is only about an inch wide right across the soft, unsupported, section of hull, my new version is 8 inches wide and the width is carried into new sections the same shape as the hull…..i’m hoping that the greater bearing area backed up with a long section of thick camping mat will allow the hull to ride better on the trailer.
Anyway : correction done and instead of an awful looking hard gloss finish it’s been flatted back one last time and now has a much better looking coat which I did with a basic water based satin finish paint….basically a ‘house’ paint. When I asked online, about how to make gloss enamel paint matt or silk, or instead what peoples experience with water based paints was, the opinion was split 50/50 and those whom had used a water based paint mostly gave it the nod for boats not in use all the time. In my own history with boats I once had an open canoe that I finished with a similar paint system and it stood up quite well to being dragged in and out of rivers : I suspect it would be easy enough to flat it and re paint it when and if it starts to get scruffy.
