

Building and fitting out the Pathfinder 2022.
This is the second post of a pair in which I briefly cover the various stages of building the Pathfinder cruising dinghy as a back yard boatbuilding project. As I write it’s winter 2022 and I have already packed up on the project for the year and all of the main construction work is done including making the mast and doing quite a lot of the fitting out.
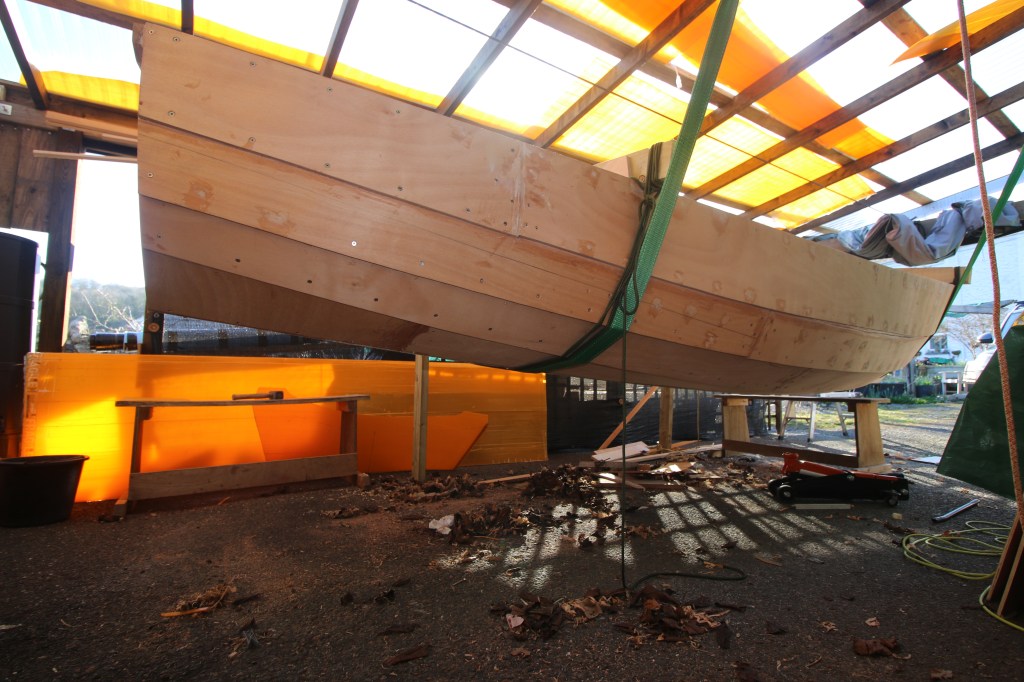
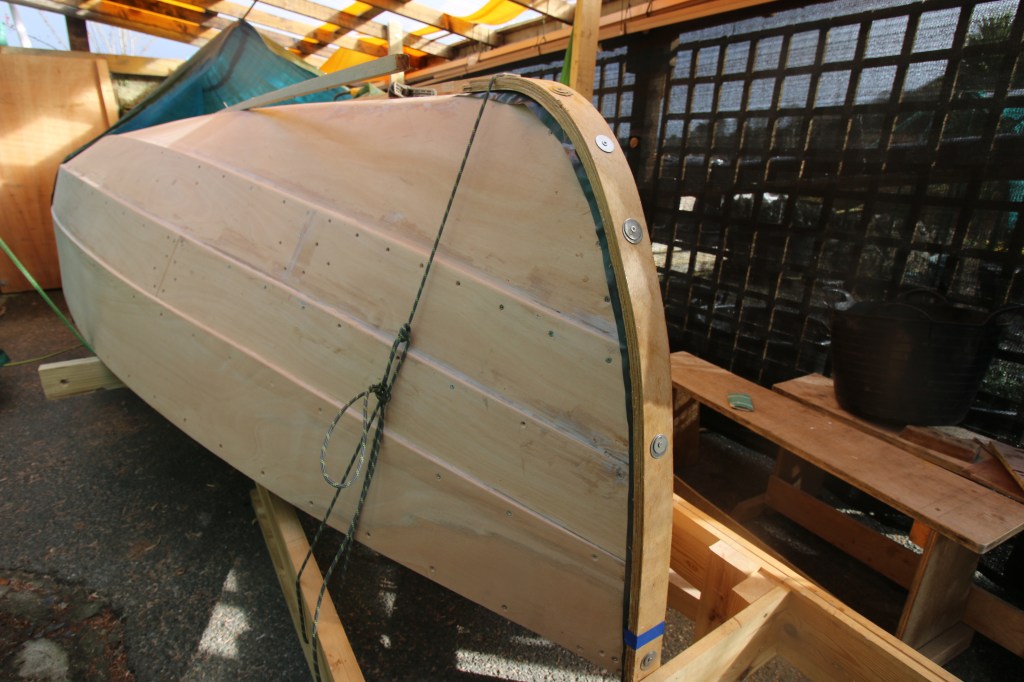
Stage 1 and ‘roll me over’.
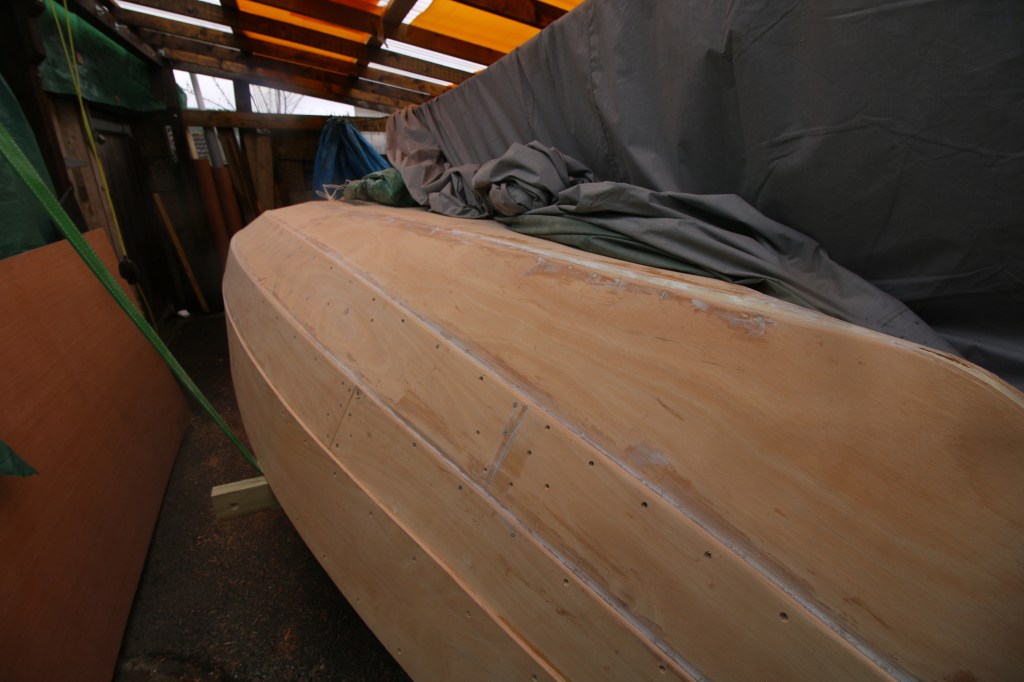
I finished year one with a fully planked hull, fully epoxy coated inside and with some of the internal structure done as well – I think at this stage that i’d fitted the bearers for the forward sole boards , made and fitted the sole boards and glassed them in. It seemed like a good plan to turn the hull over at this stage and then if there was any nice days to make a start on fairing the hull planks. The first roll-over took me a whole day with the hull lashed and bolted to a pair of cross beams and supported from the side posts of the build shelter. I thought I was going to need the assistance of several strong bodies but in the end I just chose to work slowly and carefully -doing the whole job slowly.
In the pictures below iv’e taken a selection from both times I turned the hull over which is why the hull is bare in some and fully faired, coated and painted in the later ones.


Post links :
Roll-over : https://dirtywetdog.co.uk/2022/03/07/roll-me-over-and-start-again/
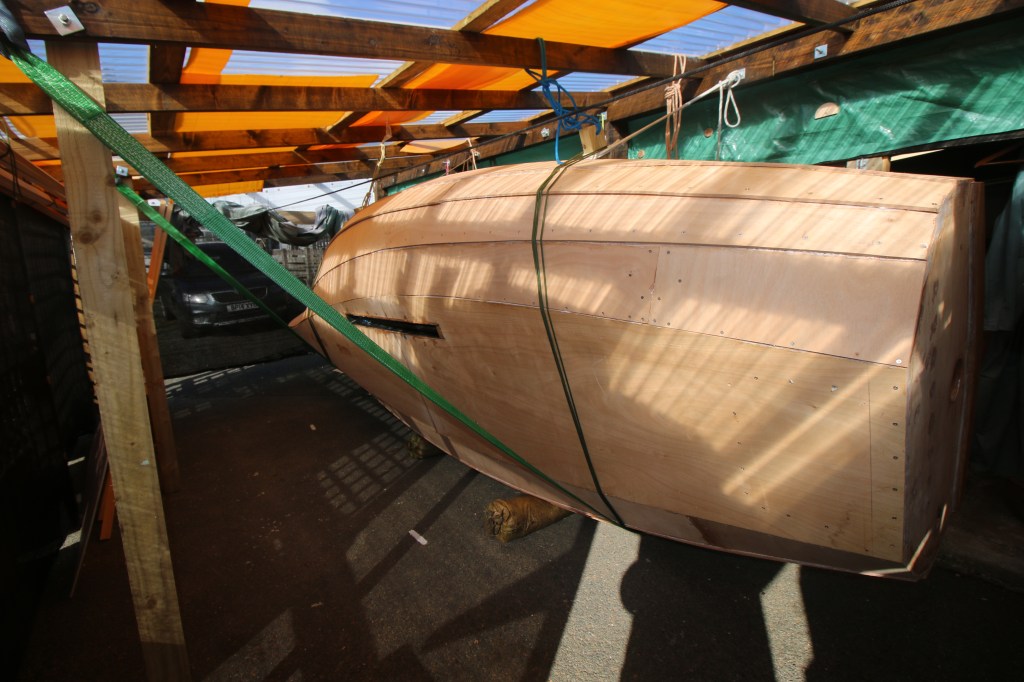
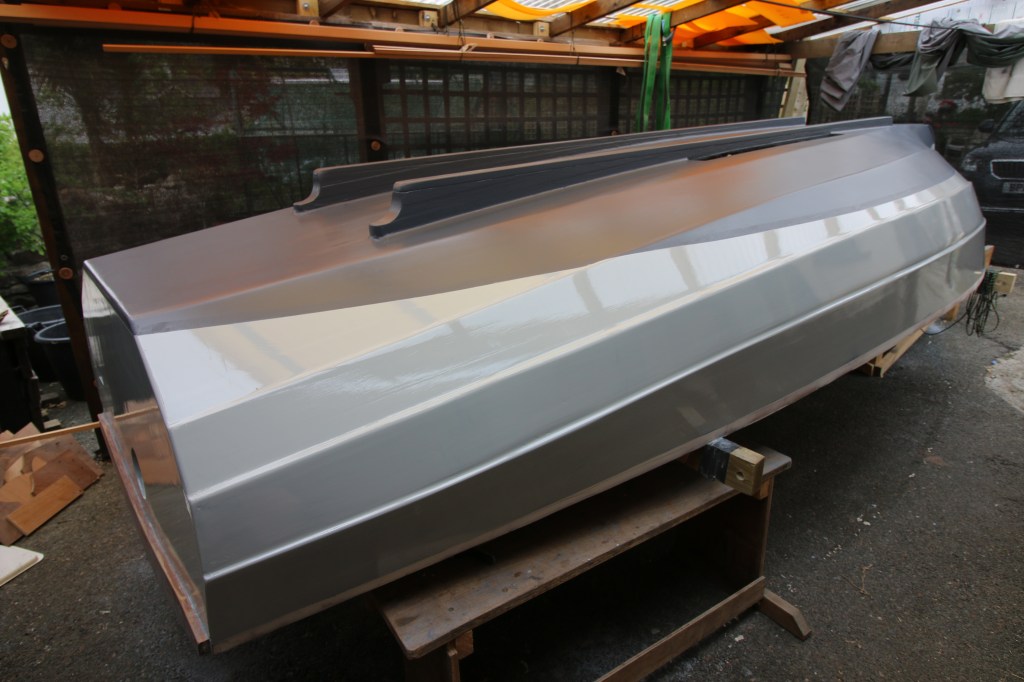
Stage 2, fairing , coating, glassing and painting the hull.
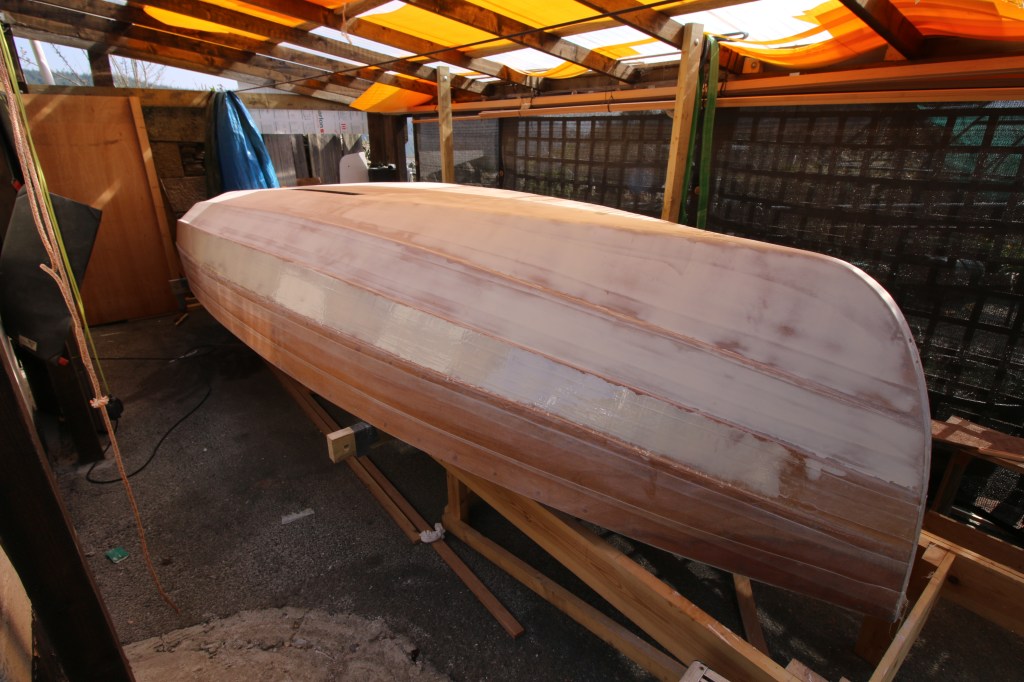
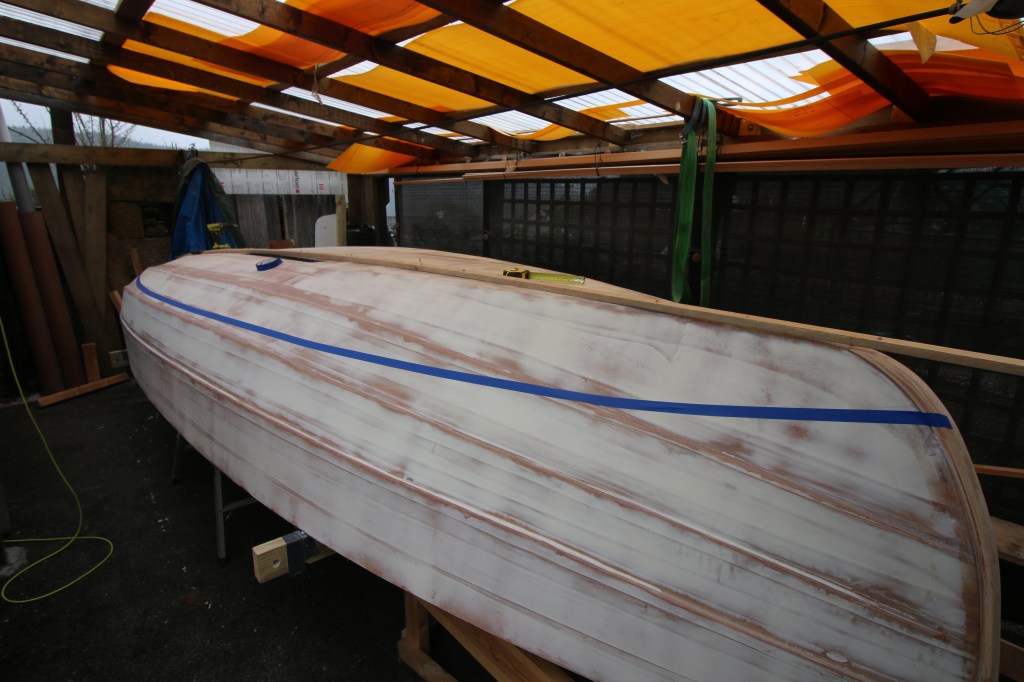
I started full time work again at the beginning of February when daytime temperatures went above 10 degrees – enough for epoxy to set when the sun was shining through the shed roof. The first job was to mark all of the hull plank edges with a long fairing batten and then spend hours planing all of them to a fair and ‘sharp’ edge and then rounding each edge slightly to take a layer of fibreglass tape .
When it came to it I used wide (150mm) fibreglass tape to cover each plank edge and then more tape to bridge between the edge layers. The bottom panels are flat and much wider so I covered those with conventional GRP cloth with a wide overlap down the centre and then block filled all of the hull planks and spent hours into days sanding all of that fair.
Post links.
Fairing and filling : https://dirtywetdog.co.uk/2022/03/25/not-fair-yet/
Bottom work ! : https://dirtywetdog.co.uk/2022/04/01/bottoms-up/
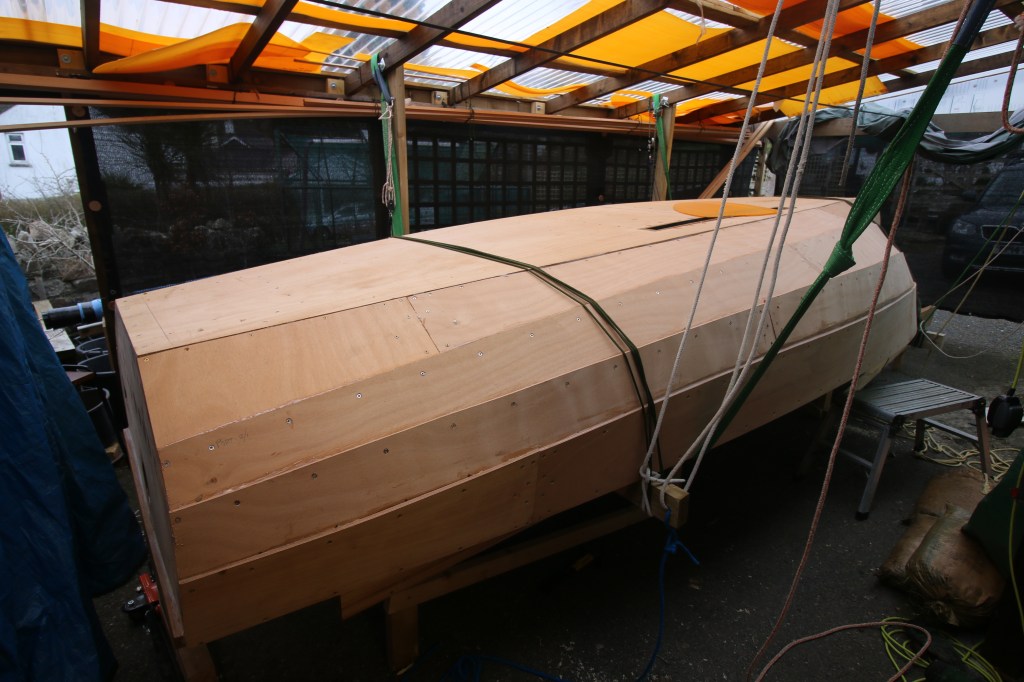
Stage 3 – other hull work.
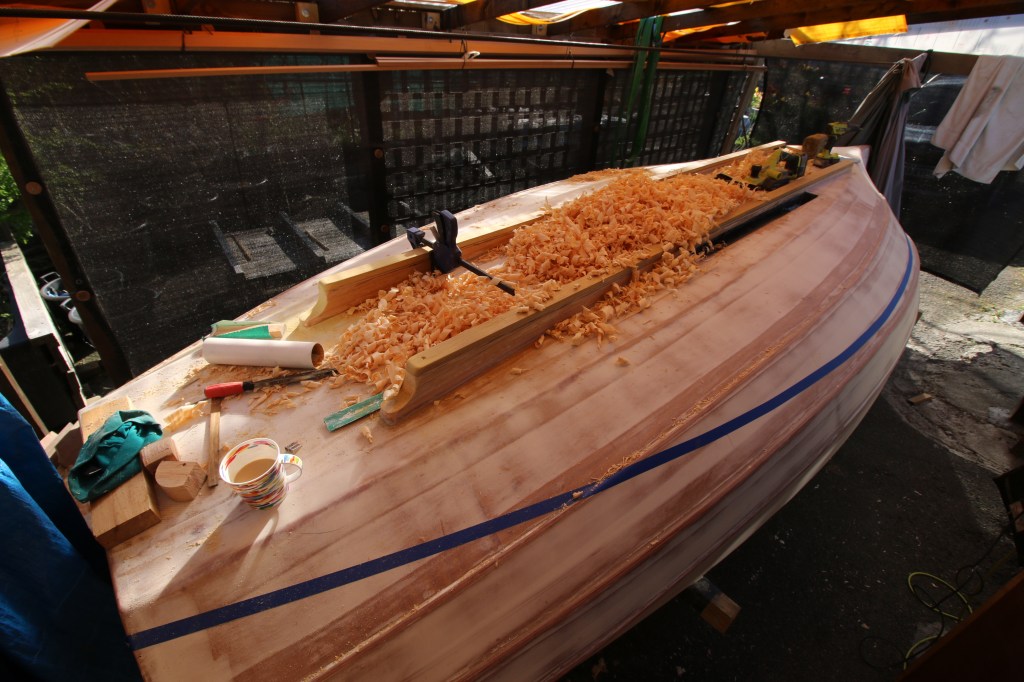
With the hull still upside down I did 2 jobs within the overall job of finishing the underside – that was in making a pair of skegs built as a stack of laminates and then planed, and a similar job at the bow -making a laminated outer stem band to make the bow look ‘sharp’.
Seeing the finished hull, still upside down but fully painted, was one of the nicer moments of year two and it felt as though I had cracked most of the practical problems of building the boat at home ; there was still a long way to go but for the first time in the project it felt as though I would get there.
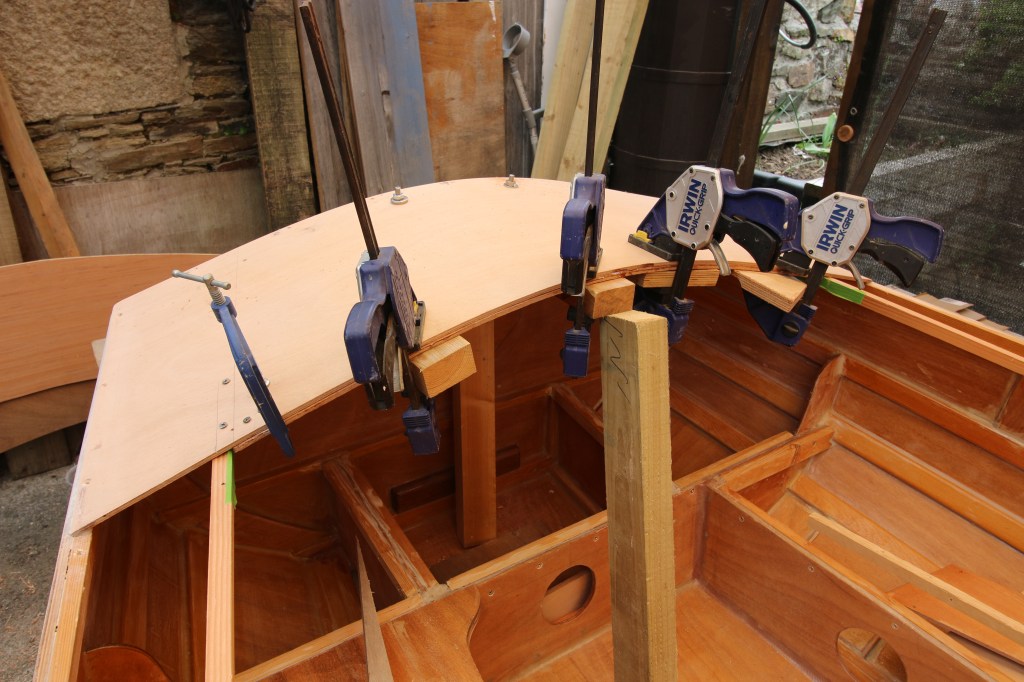
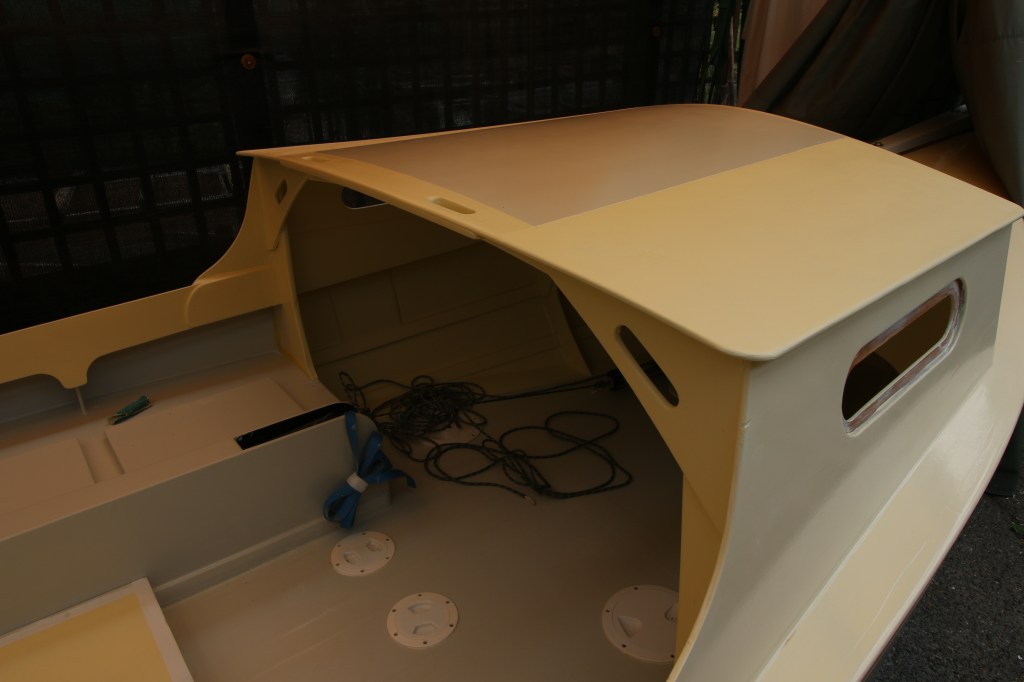
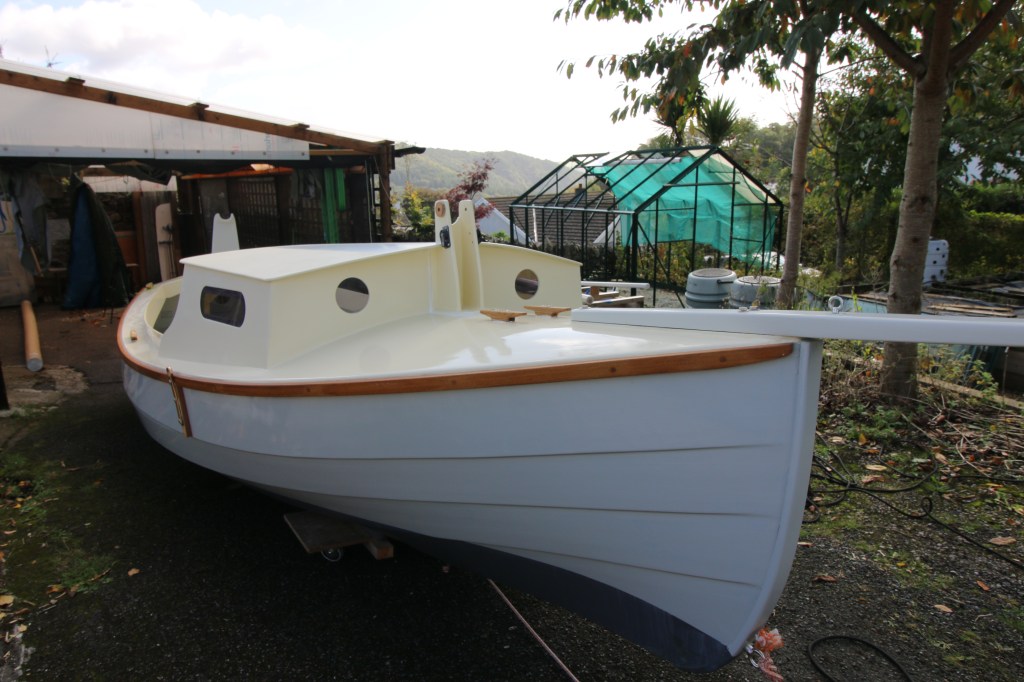
Stage 4, decks, cockpit, cuddy and coamings.
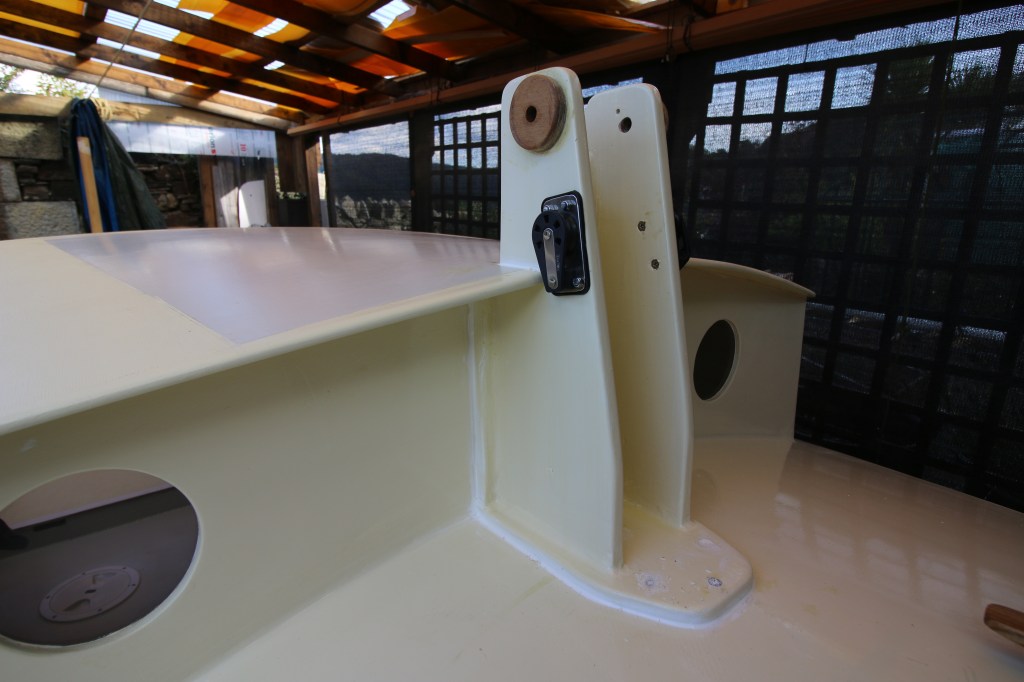
The next two deviations from the stock plans I made was in building an open backed cuddy which would eventually take the tabernacle (also a deviation) and in making a deeper stern deck before fitting the foredeck, side decks and cockpit seats/locker tops. Early on in this stage I went back one short move in that I wasn’t happy with my end of year work on the kingplank and because I was still thinking about building a standing lug rig I felt that it needed a wider and deeper structure there to support the proposed freestanding mast. In the end I didn’t do that and for most of the year I assumed that I was still building a gaff yawl.
The cuddy was an interesting job because the only way I could find to build it was to do so in-situ with several full sized mock-up models made from cheap plywood. I messed around with different cuddy and cabin designs – at one time having a complete enclosed cabin design but which I felt spoiled the boat and that it looked and seemed to function better with just the open backed cuddy. Having the cuddy and foredeck in place made it a lot more obvious where the tabernacle and mast would go – i didn’t realize it as I was building it all but it meant that I had positioned the tabernacle to be near perfect for the original plans sloop layout.
Post links.
Rig thoughts, cuddy designs, lots going on. :https://dirtywetdog.co.uk/2022/05/09/a-week-of-shed/
Lots of work going on : https://dirtywetdog.co.uk/2022/05/16/what-the-shed-did-next/
First details : https://dirtywetdog.co.uk/2022/05/23/a-shed-load-of-detail/
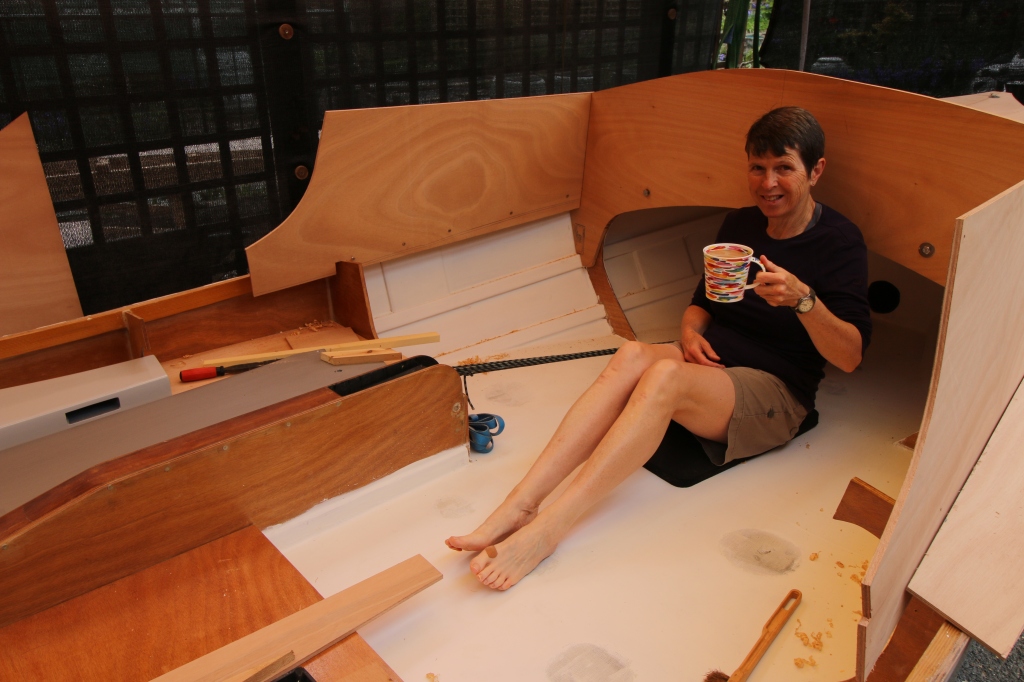
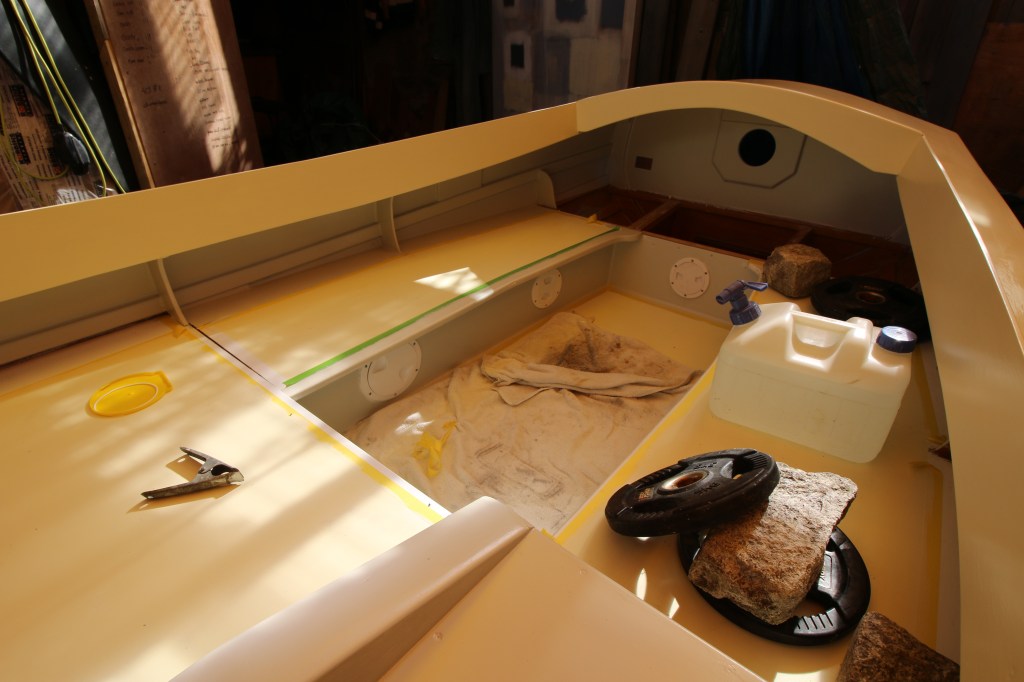
Stage 5, fitting out.
Not so much a separate and distinct stage because iv’e been adding detail and ‘fitting out’ ever since I got the forward (bunk space) soleboards in and started fitting the many inspection hatches. Since then nearly every main job has generated a lot more work in terms of adding detail and is still ongoing – will be I guess right up until the time I regard the boat as being finished – boats are never ‘finished’ though.
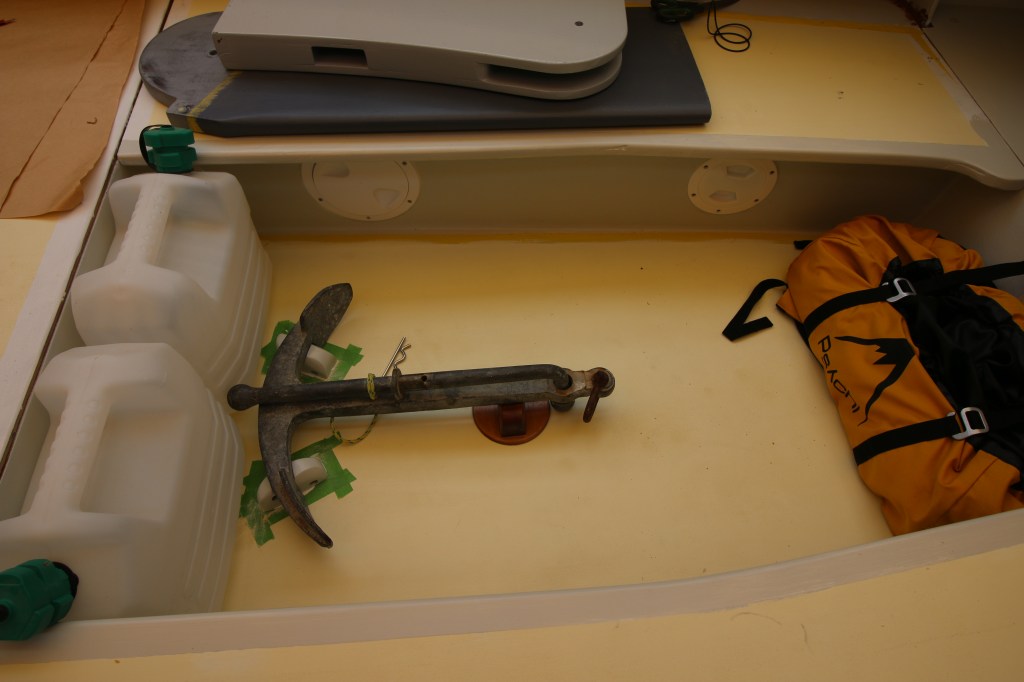
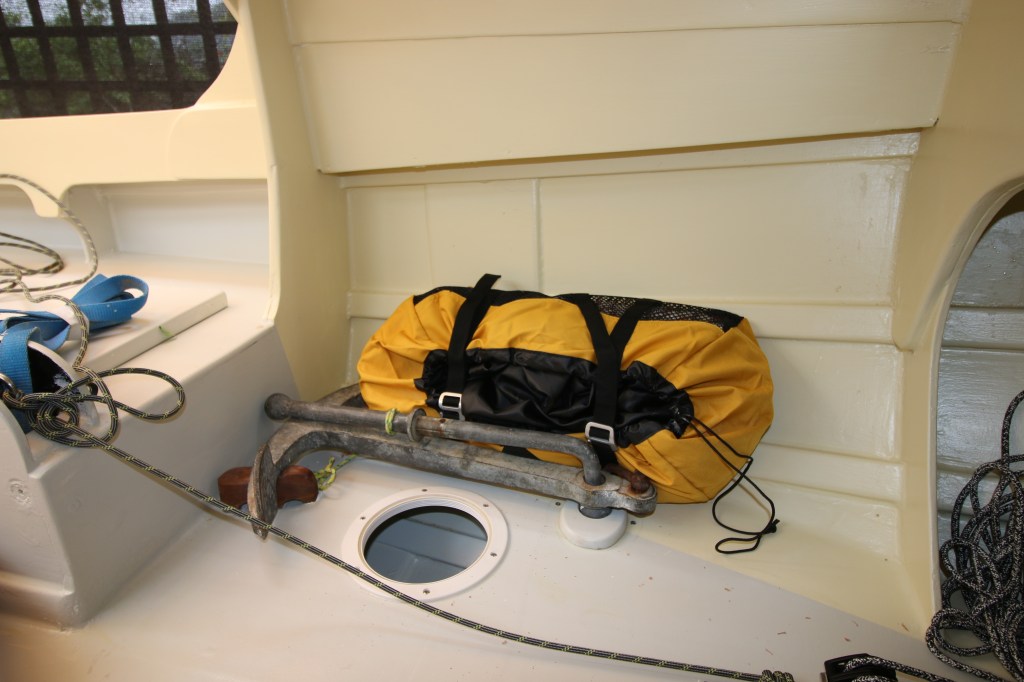
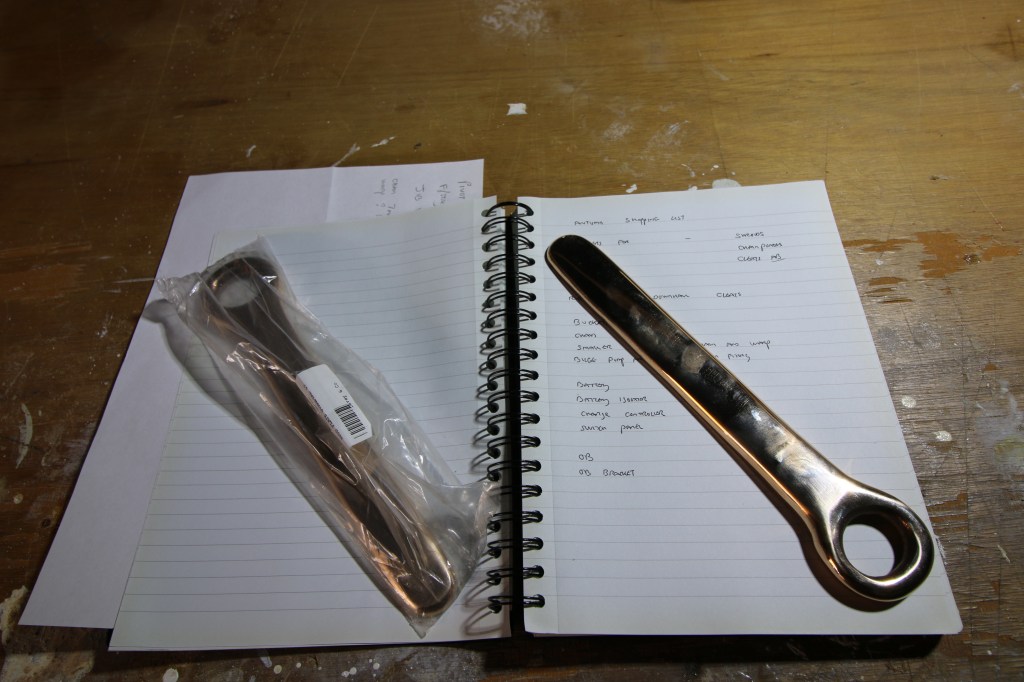
This stage of the build includes fitting all of the access hatches, fitting the steering gear, the centerboard tackles, the large dry compartment hatches and their hold down kit. Sometime along the way I made the stowage for two anchors, the first two water containers and so on.


Post links.
Adding more detail : https://wordpress.com/posts/dirtywetdog.co.uk
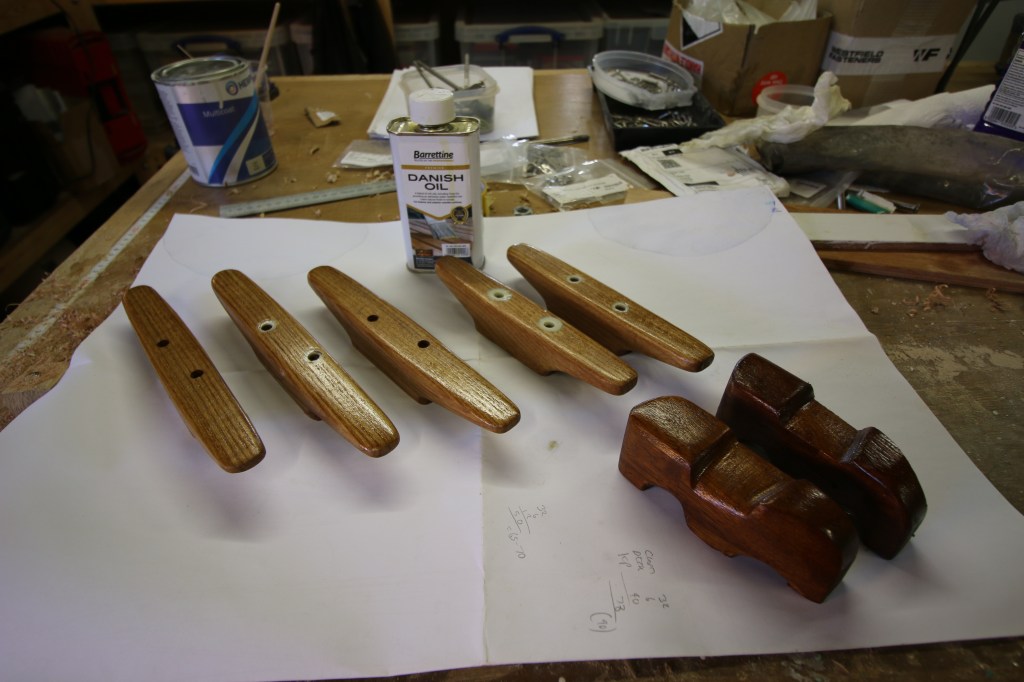
Making cleats : https://dirtywetdog.co.uk/2022/07/25/zen-and-the-joy-of-cleats/
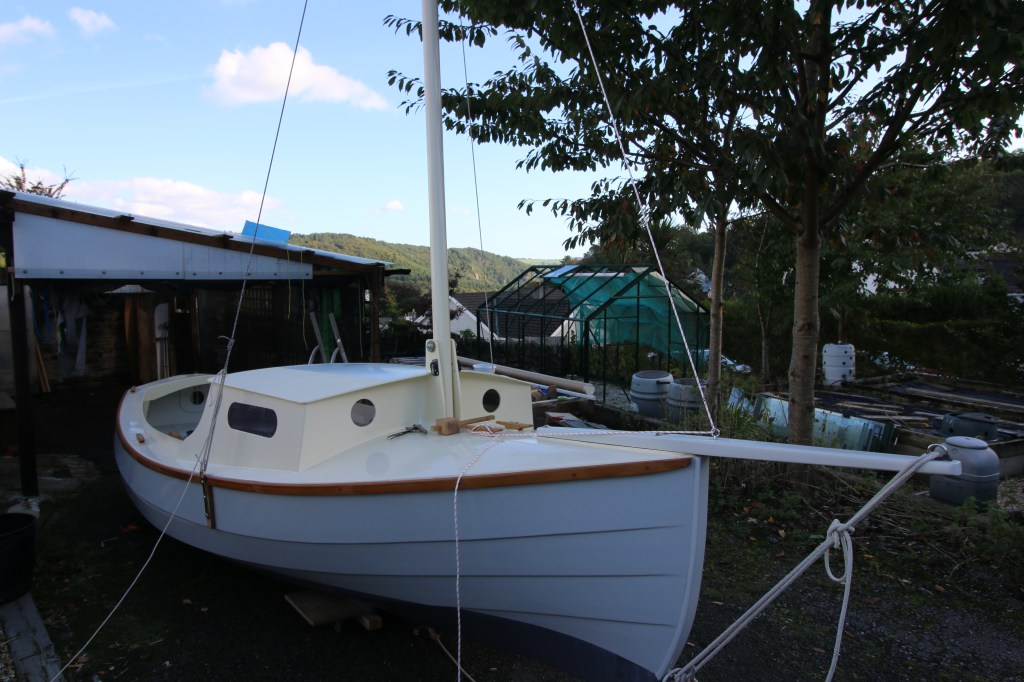
Stage 6, building the rig.
After lots of unnecessary mental effort expended in thinking about the rig I thought I was building the standard yawl as designed but with a small modification to it’s proportions because of having the mainmast sited aft by a few inches. That mainly just needed the sailplan re-balancing but at this stage I got on with making the hollow timber mainmast by the birdsmouth joint technique. Of all of the jobs on the boat I was looking forward to the mast construction least of all but in the end it went surprisingly well.
I also finished the boat aft such that it would take the mizzen mast, made and fitted the bowsprit and the same with the tabernacle which sits up against the cuddy’s front face.
In the end I dispensed with the yawl option completely and just went with the simplicity of the sloop rig – according to the designer it’s the fastest and I suspect close-winded of the rigs but it does lose the ability to heave-to and back-down under sail easily…..just a choice to be made and one day I hope to sail up against a yawl rigged Pathfinder I know of over on the east coast.

End of year 2.
In mid October 2022 I pretty well packed up the project because I finished the main construction and ran out of funds to buy-in the expensive parts I needed – that’s an outboard motor, sails, oars and a trailer which looks as though it’s going to be the single largest investment to do with the boat.
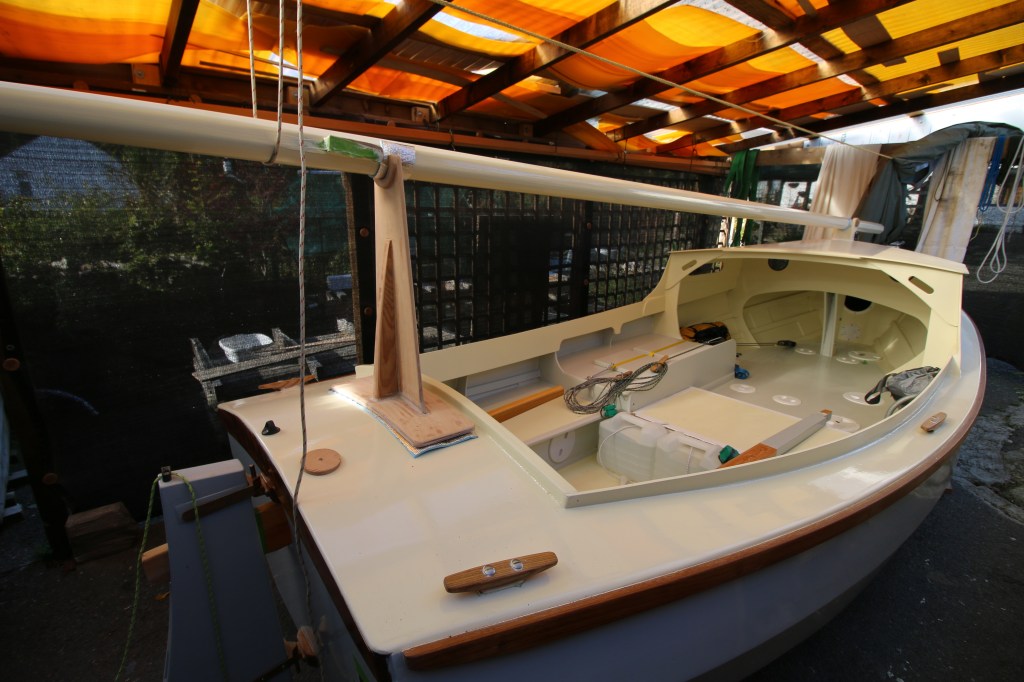
I also packed up because I was due in court for two weeks to do Jury service – I wasn’t looking forward to that because of the sheer difficulty of getting to and from the city where the crown court is situated – right alongside the various train strikes and reduction of bus services from where we live. I was extremely happy when the court clerk phoned me to excuse me from attending ; her story being that they had too many jurors and not enough trials so instead of a trek into the city and back every day I set up a load of tackles and heaved the boat out from under the shelter and in the same day stepped the mast for the first time.
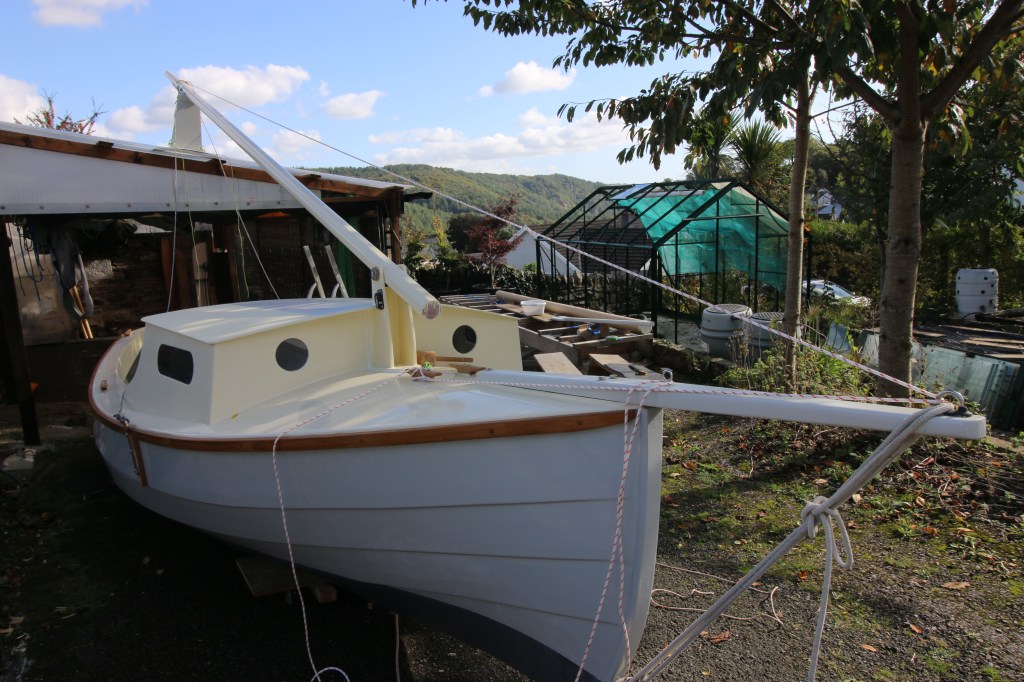
That’s about it for the end of year 2 – I feel that i’m in a better position than I expected to be at this time of year and happy now that the boat is back under the shelter and sitting secure on it’s height reduced building frame again.
I shot this short video to capture the haul-out.
Best wishes all.

Thanks again for your deeply honourable work of documenting the Pathfinder project here. I just received the plans (pdf‘s I should say) from John and frankly I wouldn‘t dare to start a project like this without blogs like your‘s and those of your predecessors. The plans alone would simply overwhelm me (solely due to my lack of competence). It‘s fab that you post the pictures in a high resolution so that many details become visible – thats very helpful!
Like you before – in the first place I have to build a shed – I will extend my old carport to the size of a a proper backyard-shipyard and hope to be able to start the main-build around april. I have a lot of other things going on in my life (job, kids…) so completing the boat within three years would be considered a big success for me. Blog will follow…
I can‘t wait to see pics of your lovely Pathfinder in the water!
Best regards,
Philipp
LikeLike
Hi Philipp and thankyou for your kind words. I think there’s some amount of ‘pass the parcel’ here because I have greatly enjoyed other people’s work – right now for example i’m following Audrey Laser’s excellent build although equally that makes me think that iv’e built the wrong boat for my project. Best wishes
LikeLike
Why do you think that you‘ve built the wrong boat? Long Steps to me seems maybe a little unstable along the longitudinal axis for the coastal passages you are intending to do. The boat on the picture on the JW-design homepage is heeling in stillwind-conditions from the weight of the skipper alone. If I remember an old blogpost of yours correctly, you carefully considered the pros & cons of more rowing style vs. more sailing style constructions and ended up preferring the latter one.
Apart from that: Audrey‘s Boat looks fantastic!
LikeLike
I think it will become clearer when I schedule the next set of posts in which I start to talk about the project that’s at the end of this. First day back on the project today, fitting the first of several bilge pumps…..it was cold enough today that I had to go and put trousers on !
LikeLike