

Pathfinder project build post – building the rig.
*Actually ten sticks at least !
If you have been following my build blog you will know that iv’e been thinking about the rig a lot and not really coming to any firm decision about what rig I was going to put on the boat until just recently ; for a while I really wanted to do an English/Breton style standing Lug – then I went back to the more usual balanced Lug and then back to gaff again…..but with a twist – and then the twist got a twist !
For now iv’e settled on at least building the main mast tube in hollow wooden birdsmouth construction because I can use that for whichever style of gaffer I end up with – my 2 choices being a traditional English style gaff or the high aspect/short gaff Dutch style rig. At this stage I favor the Dutch style short gaff rig as I had one of those before on a Wharram cat and preferred that to the big barn door mainsail that I had on the Deben 4 ton ‘Inanda’.
Up until the moment that I started work on the actual spar I was pretty sure that what I was going to build and put on the boat was the longer Dutch style pole mast with a high shroud cap and the relatively modern looking smaller mainsail, genoa staysail and jib out on the bowsprit. Some while back I did a bit of working out to see what the proportions of the Dutch style rig are and I messed around with adding that over the Yawl rig drawings in the plans. I made a simple mistake though in calculating the maximum length of pole/tube that I could carry and even more importantly the maximum height at which I could mount the shrouds and stays cap – the basic rule seems to be that the minimum angle of shrouds at the cap has to be >12 degrees and therefore 78 degrees at the shroud base.
I did the basic calculation using a simple triangle (sides and angles) calculator but based my numbers on a wrong measurement that would, had I built it, given me a tall stick with narrow shrouds – even my basic knowledge as a rigger told me that what happens with that is that the mast compression goes up as the shroud angle decreases and the amount of lateral support decreases. Some designers and builders to the old IACC rule might have got away with that with their ‘close to the limit’ carbon masts and very tec rigging but it’s no way to go for an everyday cruising boat with wood and wire.
**
So, what’s happened right now is that I took a closer look at what John had done with the plans and kind of reverse engineered his shroud angles and cap height from the drawings – the drawings are slightly and frustratingly not to a simple 1/10 scale – I guess because they have slowly altered over time by re printing them. However, by taking direct measurements off the drawings and doing some basic math – the jib foot is a useful measurement as it’s exactly 2m on the drawing I worked out a simple conversion scale and was able to proceed…….maths makes me sweat btw.
The obvious thing to do was just to work strictly to plans, after all John has done the various calculations of center of effort and to change any one thing means having to re balance the boat – me being me of course and I am altering things a bit in that the mast is going in a tabernacle, will be longer overall and will sit close to the front face of the cuddy which does move it back in the boat. That of course changes the centre of effort – brings it aft by about 80mm and that would almost certainly make the boat unbalanced and ‘hard-mouthed’- it would have stronger weather helm and round up far too easily.
So, I am going to change the proportions of the mainsail but it stays as a more traditional gaffer but one with a longer luff, shorter foot and head and longer leach – the new centre of effort will obviously be higher but very close to the original – I also then have to re-balance the boat because the jib luff will be or can be longer and I’m somewhat tempted to convert it to a small cutter with it’s slightly longer foretriangle – I quite like the idea of being able to play around with different sail combinations – I also quite like the idea of having a bit more sail area higher up , in fact more sail area all round but more on that later.
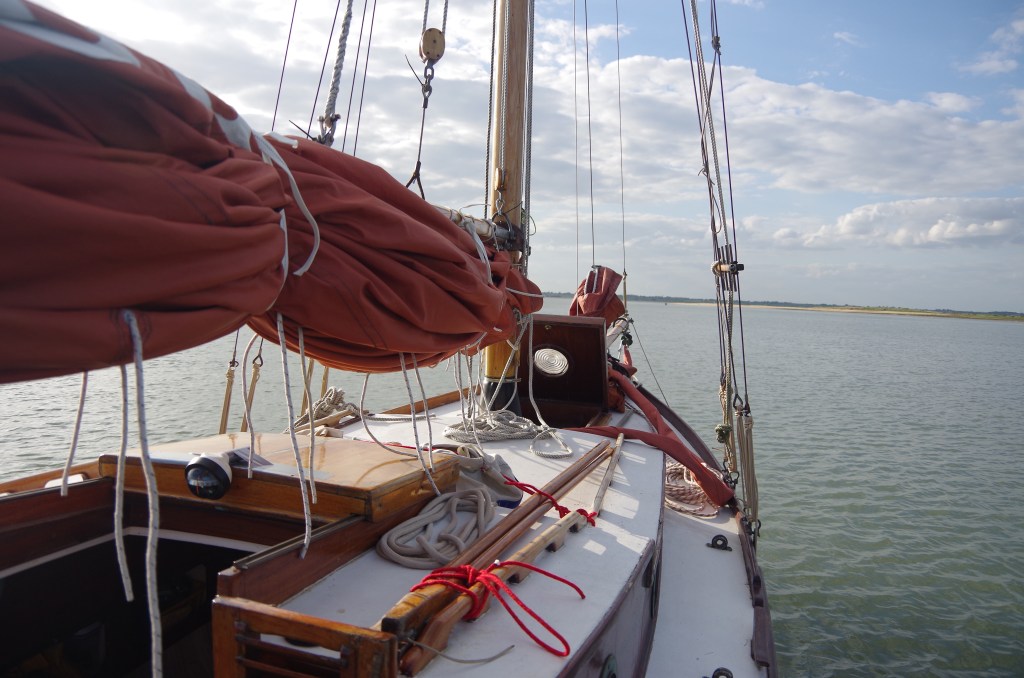
Inanda.
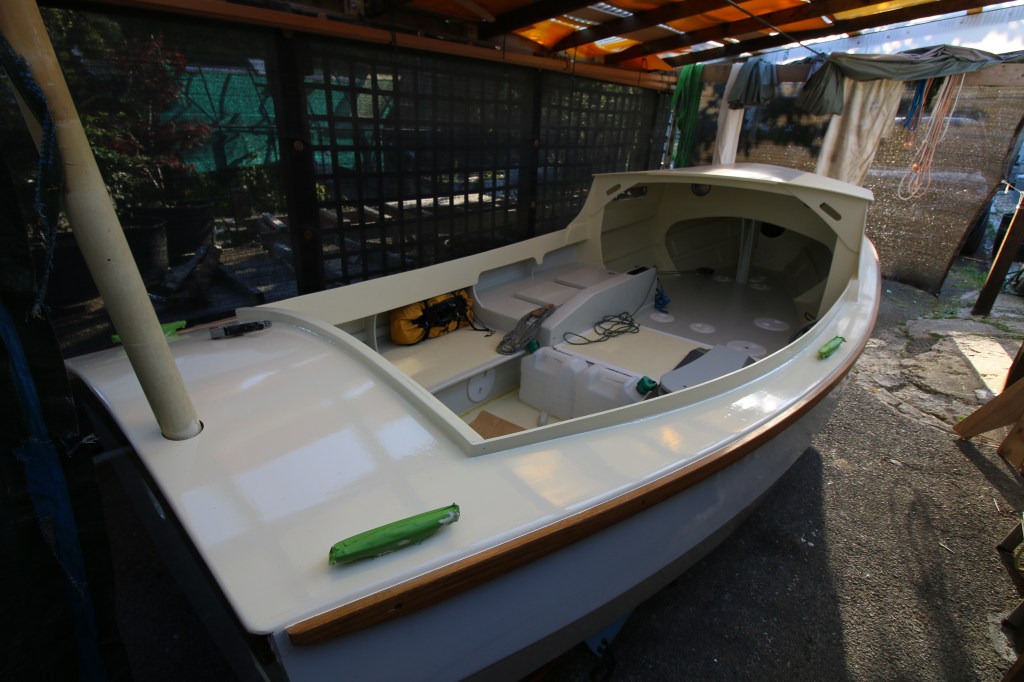
Rig plan -practical.
My plan for the rig, at least for this month, is that the rig will be a Yawl as per plan but that the mainmast will be slightly further aft and in a tabernacle – in fact the tabernacle will be up against the forward face of the cuddy and will also be a longer pole mast than standard. That obviously means that I will have changed the balance of the boat so one of my jobs is to draw my proposed rig over the standard one and work out the cumulative center of balance.
The mizzen mast is most likely to be a slightly wider than standard alloy tube (57mm as against the original 50mm) and of 3 mm section all the way through rather than 1.5mm with a doubler. If in the future I really prefer the idea of a wooden spar then I will make one but it’s more likely to be a hollowed out solid spar rather than birdsmouth. One of my more crucial jobs last month was to carefully work out and mark the centerline of the boat at the aft deck and inside as well on both the stern seat board and at bottom board level…..those marks then formed the datum for marking and boring the 3 levels through with a holesaw. The PVC pipe is acting as a temporary marker for where the mizzen mast will go.
Building the mainmast.
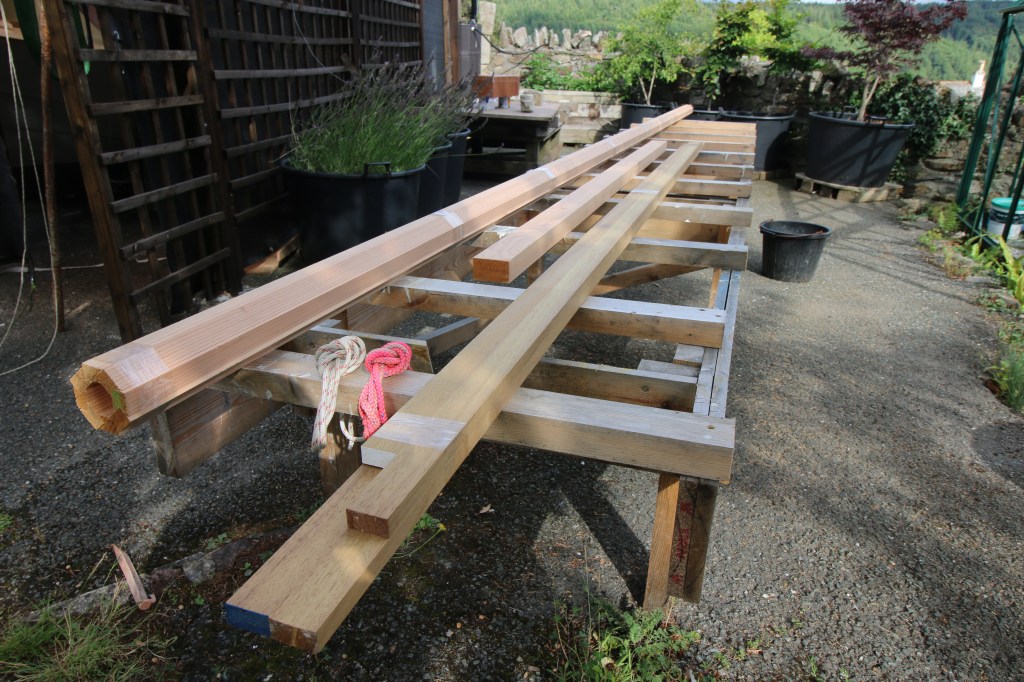
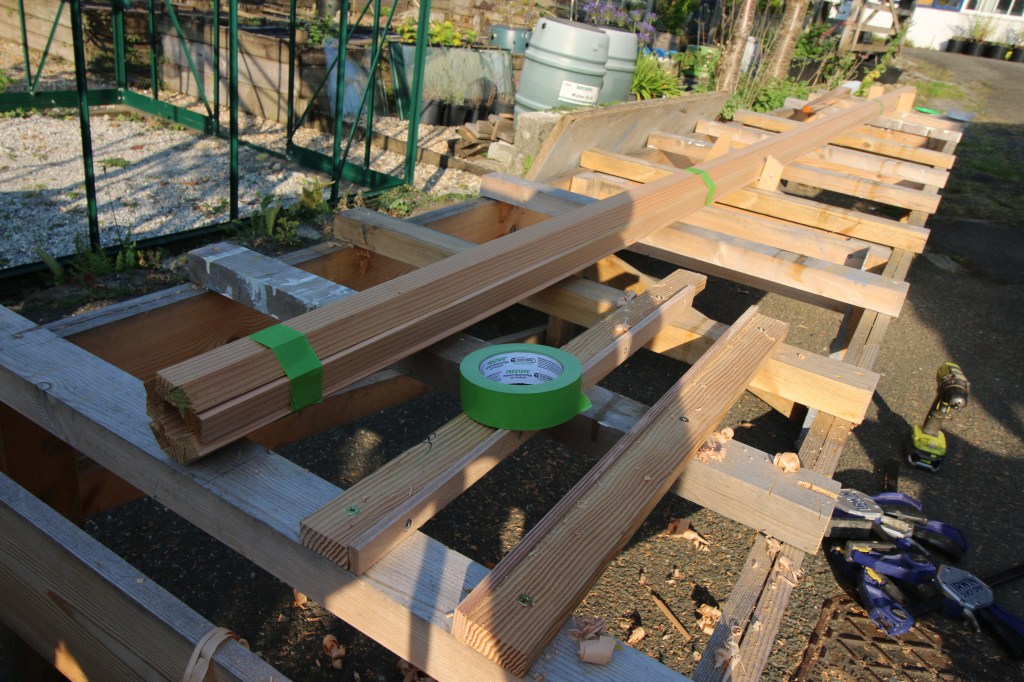
Anyway…..I ordered the stock for the mainmast which is 8 staves of Douglas Fir plus the machining for the birdsmouth joints – that’s one job that I couldn’t see a way of doing at home and don’t have the machinery for. My timber supplier is John Moody who has his workshop way out in the Devon countryside and would be impossible to find by normal means except that my partner’s family used to farm out that way and she was able to work out which cow or back-country pub to turn right at.
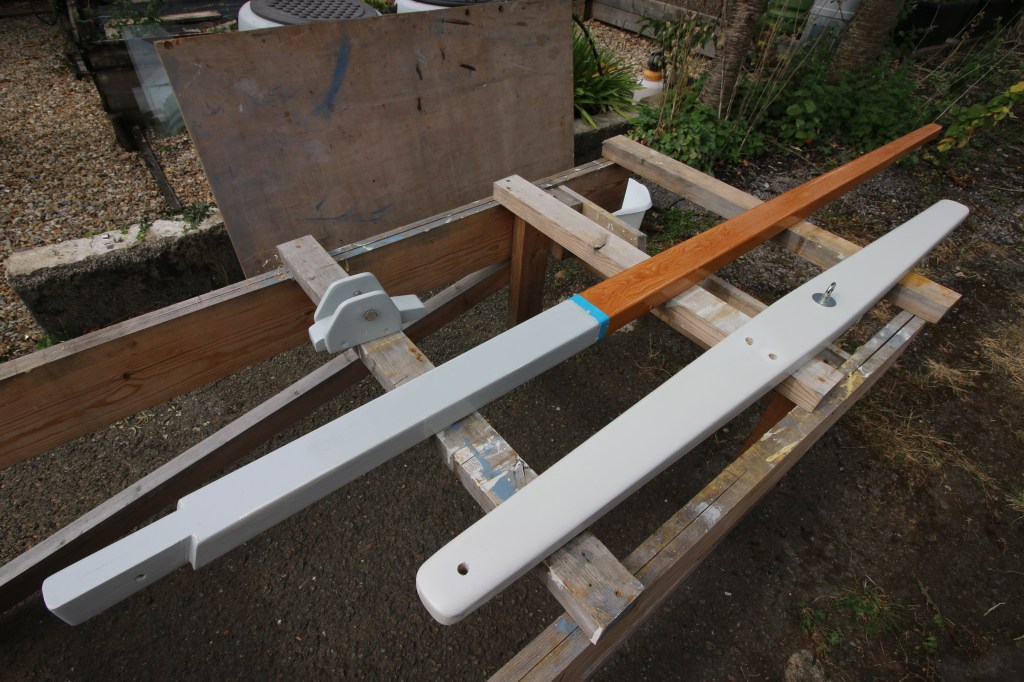
John actually put all the dry staves together……I should have just sent some glue ! except that iv’e got to taper the top section first. The Iroko , in the right of picture, is for the rubbing strakes, that needs scarfing together and the final piece (center) is a length of Douglas Fir for the boomkin.
My plan right now is to set up the build frame as my spar bench with a set of shaped risers one side to help support the staves when we get around to gluing up and also at the far end i’m going to add another couple of stations at the far end and make some kind of template guide for tapering the staves.
Job 1. Tapering the staves.
I don’t know if this is the right approach or not but the way I did it was to make a pair of jigs or planing guides out of scrap 12mm plywood, attached those to a piece of spare Douglas Fir and then clamped and screwed those at one end of the build frame – it seemed to work best with 4 mast staves clamped to the bench and between the jigs to get the taper planed onto each piece. After that, getting the staves back together with just my pair of hands was ‘fun’ for a given expression of lots of swearing while trying to juggle the 8 staves back together – in the end I attached a few temporary station supports to stop the staves falling apart again and I used tape and then cable ties to pull everything back together.
Topmast taper jig and taping the staves back together.
Meanwhile in the workshop.
Job 2.
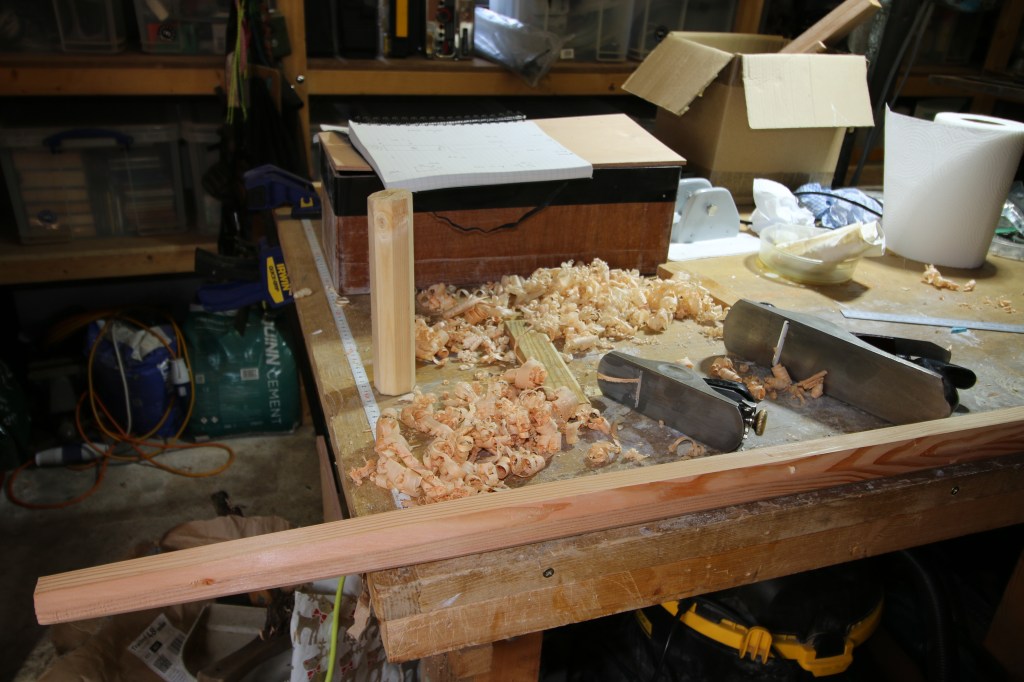
To stop the staves just collapsing in on each other I slid a length of Ash with a nice square section down the middle – that was the obvious point at which to set up my table saw to make the stock for what would become the 8 sided internal packing pieces at the mast foot , the hounds and cap. I found some spare Douglas Fir in the workshop – I think that was part of the original skeg piece which I never used but from which I was able to cut a length of 42 x 42 mm square section to make the 8 sided blank from. Some of that will stay as parallel sided stock for the heel and at the hounds and then one longer piece will have to be evenly tapered to fit inside the tapered topmast.
8 sided packing piece – just about to take a break and sharpen the planes again.
Job 3, preparing and gluing up.
A whole wet week went by in between shaping the 8 sided packing pieces and the first stage of gluing up the mast ; what happened in between was that the weather, our much maligned heatwave, broke and we had a week of much more normal Uk summer weather – rain in short but actually thunderstorms and flash flooding on this coast.
This morning, as I write, I’m just taking a break from having masked the building frame, taped off 2 of the stave joints and then glued the whole mast together as one piece but in 2 halves – my plan being to take apart the halves again , coat the inside of the staves and then complete the wet construction with the packing pieces glued in as well.
As you can imagine that had to be a well organized job and ultimately quite fast because even though it was a cool morning and I was using slow hardener I still had to apply glue to 6 birdsmouth joints ‘make’ the entire mast inside the forms and then ‘clamp’ everything together with a whole load of cable ties to apply clamping pressure. It’s just gone nicely warm here so i’m resisting the urge to go and see how the glue is doing.
That went well in that once the resin had cured I was able to pop the 2 halves apart and start to fine tune the fit of the filler/packing pieces – that was a steady half day’s work itself but it meant that the next morning I could epoxy coat the insides of the spar halves, glue the packing pieces in and then finally glue the last 2 joints to make a complete tube. Just to add that I did all of the clamping of the 2 halves with a whole load (more than in the picture below) just with long and wide cable ties – the glue joints don’t seem to need much clamping pressure but just lots of clamping points so the cable ties ended up less than a foot apart.

Trimming and shaping.
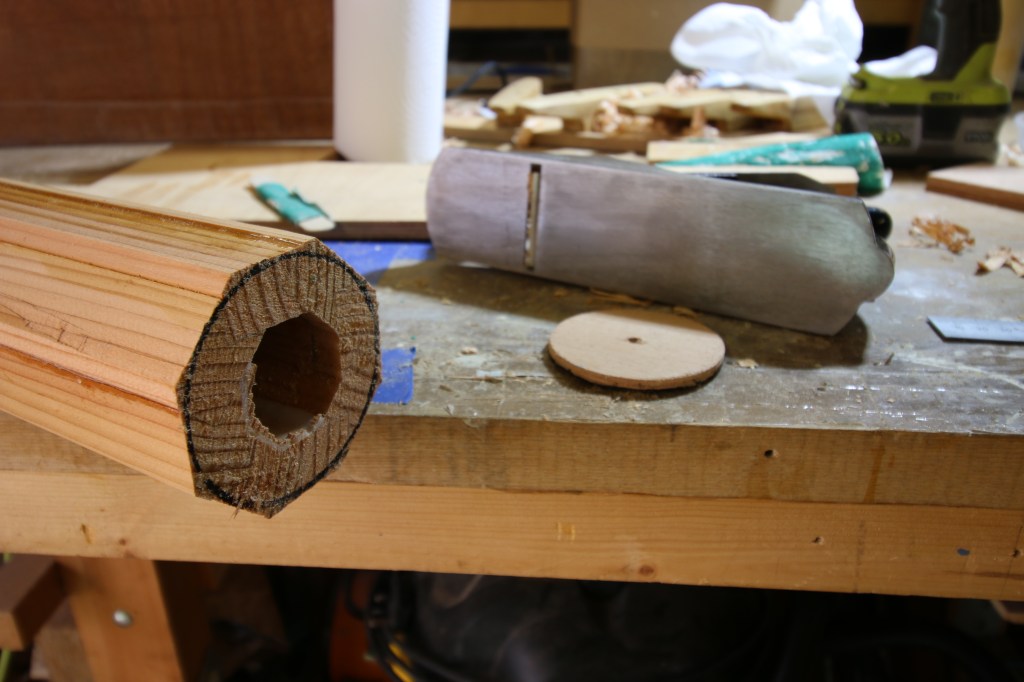
I deliberately made the pole mast over length so once it was all cured I cut the blank end off which gave me an 8 sided ‘tube’ to play around with in the workshop ; there, I worked out how to turn the 8 sided blank with sharp corner edges into first a clean octagonal tube and then a rounded one. Taking that knowledge out to the mast itself I marked out where I wanted it to stay as square edges and then set-to with my various planes – first off just trimming the edges off and then going on to do a full ’round’ of most of the tube.
Iv’e left the bottom 500mm as octagonal just with lightly sanded corners and the rest is a fair looking tube all the way to the external shroud cleats which I glued and bolted to a straight edge.
Finally, for now, I spent a couple of sessions with a home made sanding longboard taking my planed ’round’ section to something approaching clean and fair. Iv’e finished the work at this stage by bonding a long length of 100mm glassfibre tape most of the way up the intended aft face as abrasion resistance for the gaff or gaff saddle ; i’m playing around with the idea of making a composite gaff saddle but setting that job aside for a rainy day or rainy week more like.
Other rig jobs.
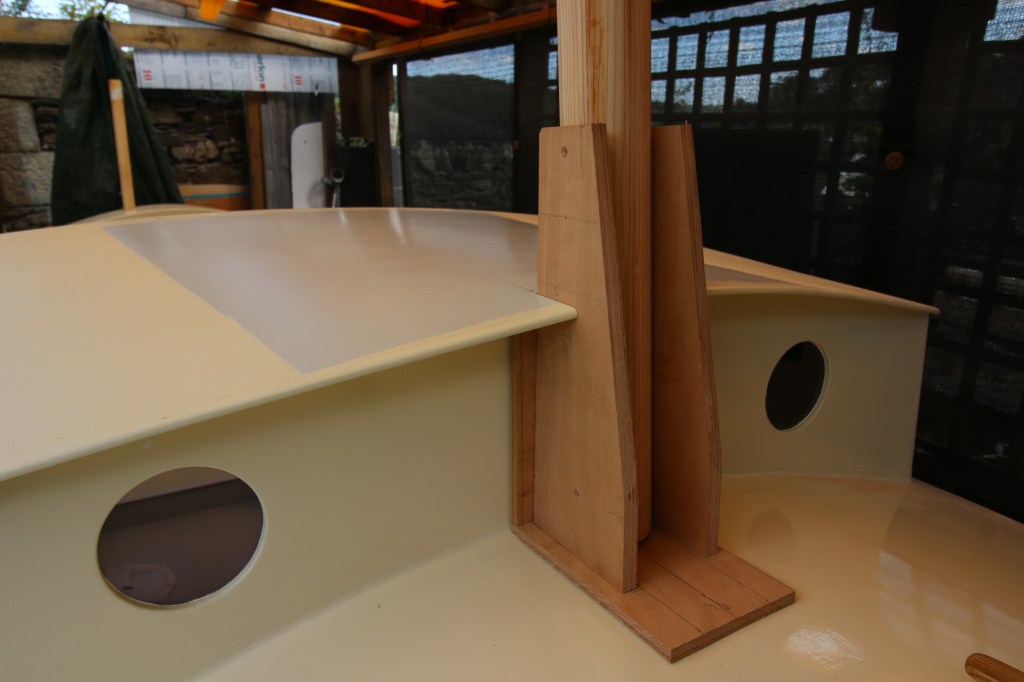
Back in the workshop I dry assembled the pieces for the tabernacle which I was messing around with during the previous wet week – I mostly left that alone until I had the mast tube blank to directly model the tabernacle with. I dry assembled the tabernacle and dry fitted it on the boat – it sits in a cut out section of the cuddy roof so it will be supported by the cuddy forward face and to a smaller extent by the cuddy top. As I write this section of the post it’s the end of my working week and iv’e just glued and coated the tabernacle ready to fit.
Although quite minor jobs compared with making the mainmast tube I did also have to make the bowsprit, and fit that, the boomkin and it’s bracket, the mast tabernacle, the gaff and the mizzen sprit boom. I actually made the bowsprit some time back and initially fitted it in such a way as to be removable , I made some mistake there though and ended up with slightly oversized bolt holes which made for a loose fit so that meant boring out the epoxy plugs again and having a second go at the job.
One day, with very few main jobs to do that day I pulled down the long length of Douglas Fir that I ordered right at the start alongside all of the stock for the stringers and bearers – thinking to quickly make the boomkin. What i hadn’t noticed though was that the cutting list gives one length and then the actual boomkin drawing gives a longer length – I checked with the forum and found that I did in fact need the longer length so that came with the last timber order and it was a nice job for an afternoon to mark out and shape the boomkin.
As I write , it’s a cooler and slightly damp morning so it was a half hour job in the workshop to drill out the bowsprit bolt holes with a wider bit again and re cast the holes with epoxy and high density filler – this time when I get around to re drilling all of the holes I must remember to check the size of the drill bit with some accurate calipers. As I write, the bowsprit is back on with all new holes bored, epoxy plugged and re drilled……the bowsprit has now been on and off more times than a virgin’s skirt……as a sailor might say.
Bowsprit and boomkin.
At the end of this month (September now) I should be able to buy in a couple of very nice Bronze chainplates so at that stage I will fit those and maybe pull the boat, on it’s dolly, out of the shelter and have a go at putting the mast up with temporary rope shrouds. In the meantime iv’e got a bit of work to do around the shroud cleat points and working out where to attach the various bits of running rigging – right now though iv’e got a few days work, in the rain but under the shelter, fitting the steering gear.
**
Because it’s me and I always overthink things I did go looking for other ways of achieving a high aspect ratio gaff mainsail like the Dutch boats and I did find one way of doing it which is described and drawings shown in L. Francis Herreshoff’s book of designs ‘Sensible Cruising Designs‘ and is the method he drew for the leeboard sharpie ‘Meadowlark’. His design was for a short gaff running on a mast track/sail track and the mast having shrouds with conventional spreaders – the drawings are a thing of simple beauty and I would love to go down that route with a boat but it does add a lot of expense with the sail track and to have the custom bronze hardware all cast and machined.
